Overview
Windows 11 lets you change the entire display language — menus, settings, dialogs, and Microsoft apps. This guide covers adding a language pack, setting it as the display language, adjusting preferences, and removing unwanted languages.
Change the Windows 11 display language.
Key Takeaways
- Add a language under Settings > Time & language > Language & region.
- Download the language pack, then set it as the Windows display language.
- Sign out and back in to apply the change fully.
- Remove languages you no longer need to save space.
Add and Set a Display Language
1. Open Settings > Time & language > Language & region.
2. Click "Add a language", search for the language, and select it.
3. Tick the optional features (Language pack, Text-to-speech, etc.) and click Install.
4. Under "Windows display language", choose the newly installed language.
5. Sign out and back in for the change to take full effect.
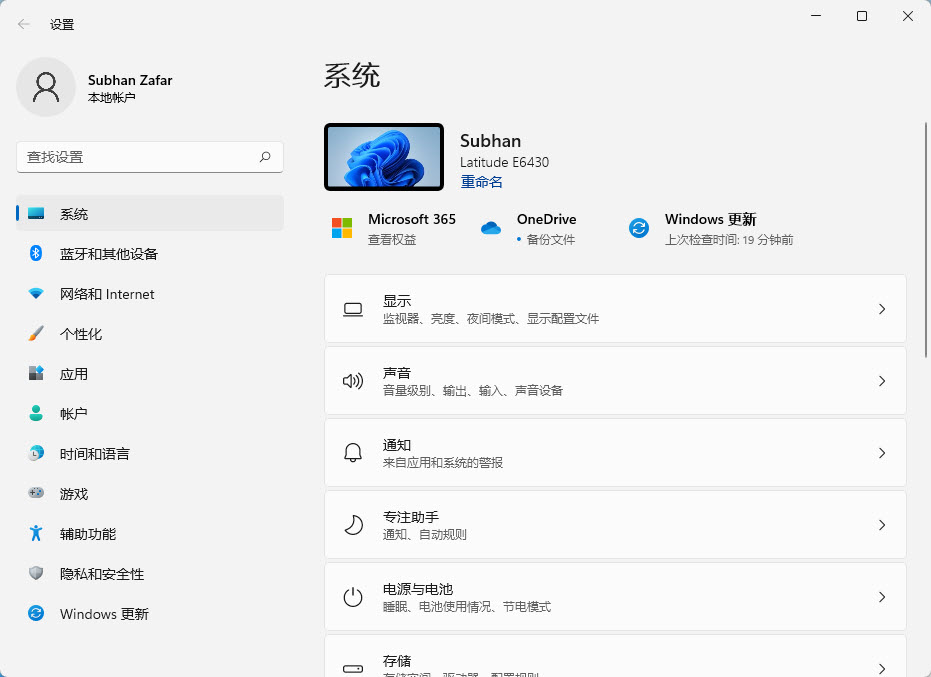
Display language set to a newly installed language.
Adjust Language Preferences
1. In Language & region, drag languages to set their priority order.
2. Click a language’s three dots > Language options to manage keyboards and packs.
3. Set regional format and keyboard layout to match the new language if desired.
Remove a Display Language
1. Open Settings > Time & language > Language & region.
2. Click the three dots next to the language you want to remove.
3. Choose Remove. (You cannot remove the currently active display language — switch first.)
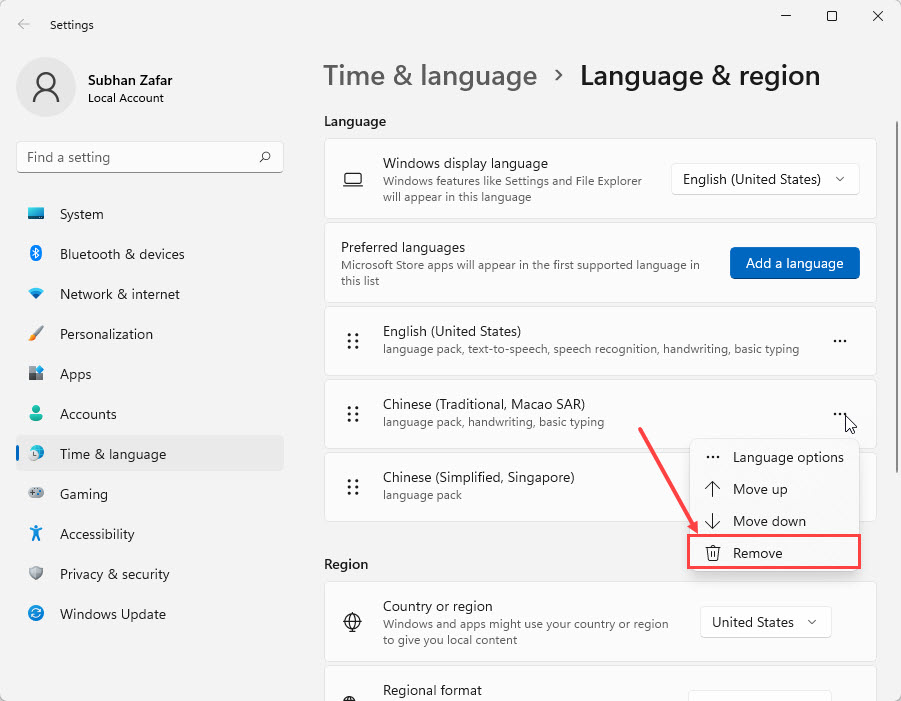
Removing an installed display language.
Troubleshooting
Problem: The display language option is greyed out.
Solution: The language pack hasn’t finished downloading — wait for it to install, then reselect it.
Problem: Some areas remain in the old language.
Solution: Sign out and back in (or restart); a few system areas update only after a new session.
Problem: Language pack won’t download.
Solution: Check your internet connection and Windows Update; metered connections can block pack downloads.
Problem: Can’t remove a language.
Solution: You cannot remove the active display language — switch to another first, then remove it.
Conclusion
Changing the display language in Windows 11 is straightforward: add the language, download its pack, set it as the display language, and sign out and back in. You can keep several languages and reorder or remove them whenever you like.
</w:pBdr><w:spacing w:before="220" w:after="40"/></w:pPr><w:r><w:rPr><w:b/><w:bCs/><w:color w:val="0B5394"/><w:sz w:val="21"/><w:szCs w:val="21"/><w:rFonts w:ascii="Calibri" w:cs="Calibri" w:eastAsia="Calibri" w:hAnsi="Calibri"/></w:rPr><w:t xml:space="preserve">About TechHub
This guide is part of the TechHub Knowledge Base. For more step-by-step IT guides and support, visit techhub.com.lk.