How to Enable Hyper-V in Windows 11 (Home and Pro)
Turn on Microsoft’s built-in hypervisor to create and run virtual machines.
Overview
Hyper-V is Windows’ built-in hypervisor for running virtual machines. It’s included in Pro/Enterprise/Education and can be added to Home with a script. This guide covers checking requirements and enabling it.
Enabling Hyper-V in Windows 11.
Key Takeaways
- Hyper-V needs hardware virtualization enabled in BIOS.
- Pro/Enterprise/Education have it built in.
- Windows Home needs a small script to add it.
- Enable via Optional Features, DISM, or PowerShell.
Step 1: Check Requirements and Enable Virtualization
1. Run systeminfo and check the Hyper-V requirements section (or Task Manager > Performance > CPU > Virtualization).
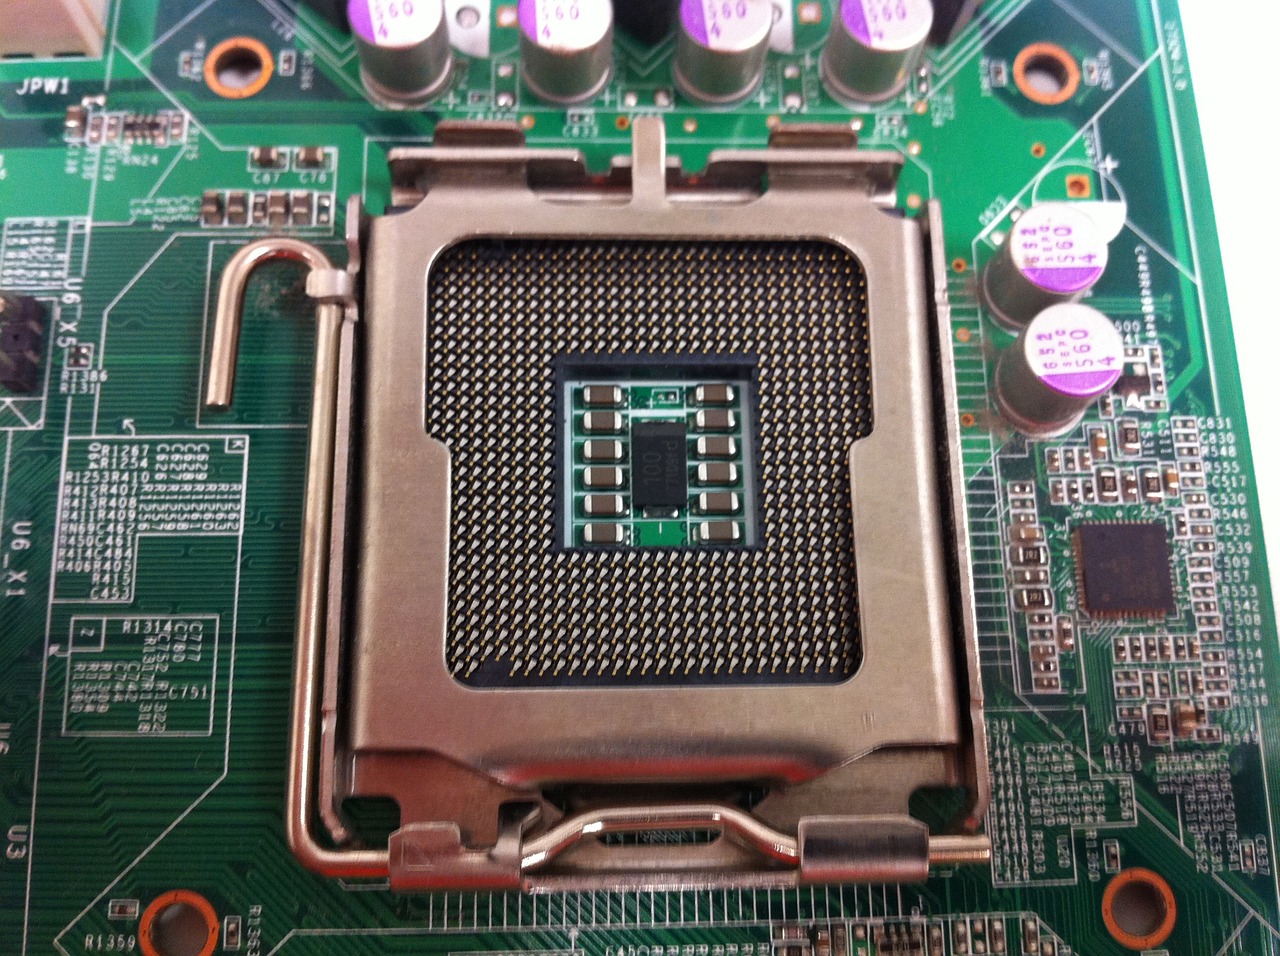
2. If disabled, enter BIOS/UEFI and enable Intel VT-x / AMD-V (and VT-d/IOMMU).
3. Save and boot back into Windows.
Enable Hyper-V on Windows 11 Home
1. Create a .bat script that uses DISM to install the Hyper-V packages (Microsoft-Hyper-V and dependencies).
2. Right-click the script and Run as administrator.
3. Accept the UAC prompt and press Y to restart when done.
4. Hyper-V Manager now appears in the Start menu.
Enable Hyper-V on Pro/Enterprise/Education
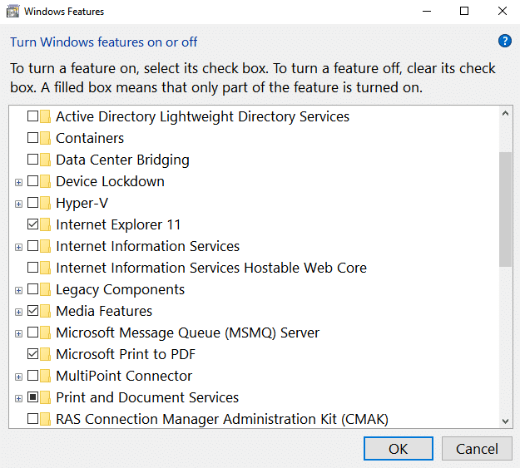
1. Optional Features: run optionalfeatures, tick "Hyper-V", click OK, and restart.
2. Command Prompt (admin): DISM /Online /Enable-Feature /All /FeatureName:Microsoft-Hyper-V
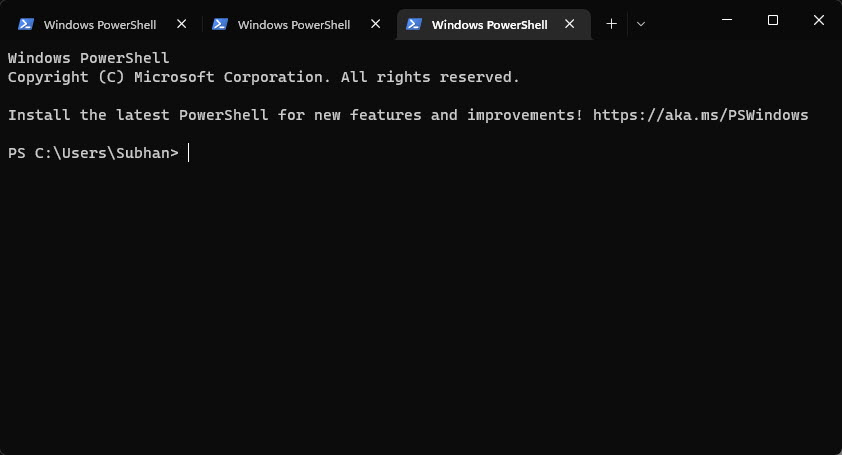
3. PowerShell (admin): Enable-WindowsOptionalFeature -Online -FeatureName Microsoft-Hyper-V -All
4. Restart to finish.
Disable Hyper-V
1. Run optionalfeatures and untick "Hyper-V" (or use the Disable-WindowsOptionalFeature command).
2. Restart the PC.
3. Disable it if it conflicts with other hypervisors.
Troubleshooting
Problem: Hyper-V option greyed out.
Solution: Enable virtualization (VT-x/AMD-V) in BIOS; ensure your CPU/edition supports it.
Problem: VMs won’t start after install.
Solution: Confirm virtualization is on in BIOS and no conflicting hypervisor (some VMware/VirtualBox setups) is active.
Problem: Home script fails.
Solution: Run it as administrator and ensure Windows is updated; the packages must be present in the component store.
Problem: Conflicts with another hypervisor.
Solution: Disable Hyper-V (and the Hypervisor launch type) if you need a third-party hypervisor, or use nested/compat modes.
Conclusion
Enable virtualization in BIOS, then turn on Hyper-V via Optional Features, DISM, or PowerShell on Pro/Enterprise/Education — or run a small DISM script to add it to Windows 11 Home. Once enabled, Hyper-V Manager lets you build and run virtual machines.