Overview
Wireless Display (Miracast) එකෙන් Windows එකේ screen එක compatible TV, monitor, නැත්නම් PC එකකට project කරන්න පුළුවන් — ඒ වගේම වෙන devices වලට ඔයාගේ PC එකට cast කරන්නත් පුළුවන්. මේ guide එකෙන් feature එක install කරන හැටි, enable කරන හැටි, සහ දෙපැත්තටම cast කරන හැටි පෙන්නනවා.
Wireless Display screen projection.
Key Takeaways
- Wireless Display එකෙන් Wi-Fi Direct උඩින් Miracast use කරනවා.
- Projections receive කරගන්න optional feature එකක් විදිහට install කරන්න.
- Display එකකට cast කරන්න Windows + K press කරන්න.
- Devices දෙකම Miracast support කරන්න ඕන.
Install the Wireless Display Feature
1. Settings > Apps > Optional features > Add an optional feature open කරන්න.
2. "Wireless Display" search කරලා install කරන්න.
3. එතකොට ඔයාගේ PC එකට වෙන devices වලින් projections receive කරගන්න පුළුවන්.
Cast Your Screen to Another Device
1. Target display/PC එක Miracast support කරනවද, discoverable ද කියලා confirm කරගන්න.
2. Windows + K press කරන්න (නැත්නම් Quick Settings වලින් Cast open කරන්න).
3. List එකෙන් device එක select කරන්න.
4. ඕන විදිහට duplicate, extend, නැත්නම් second-screen-only mode එක තෝරන්න.
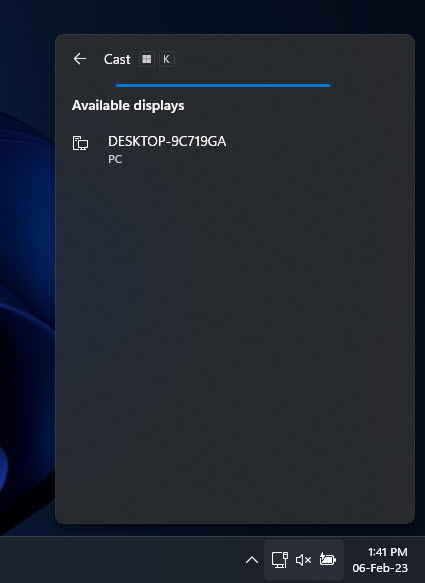
වෙන device එකකට project නැත්නම් cast කරන්න.
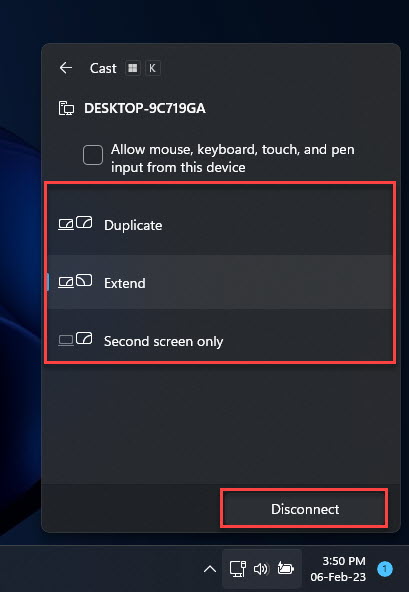
Duplicate, extend, නැත්නම් mirror කරන්න තෝරන්න.
Let Other Devices Project to Your PC
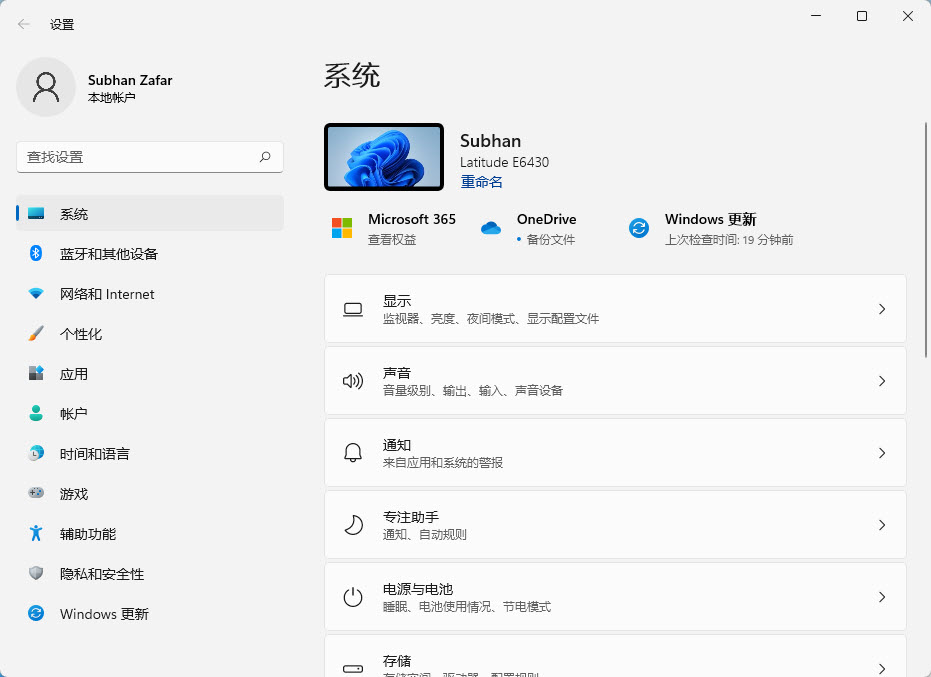
1. Settings > System > Projecting to this PC open කරන්න.
2. "Available everywhere on secure networks" set කරන්න (නැත්නම් කැමති විදිහට).
3. Pairing PIN එක සහ permission ඕන වෙන්නේ කවදද කියලා configure කරන්න.
4. අනිත් device එකේ, cast කරලා ඔයාගේ PC එක select කරන්න.
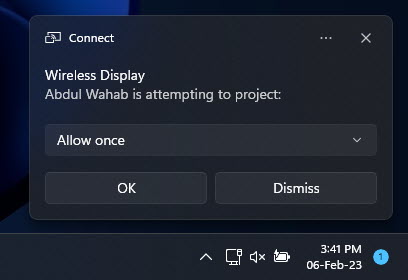
මේ PC එකට project කරන්න allow කරන්න.
Disable or Uninstall
1. Receive කරගැනීම නවත්තන්න: "Projecting to this PC" options එක Always off කරන්න.
2. Feature එක remove කරන්න: Settings > Apps > Optional features > Wireless Display > Uninstall.
Troubleshooting
Problem: Cast කරද්දී devices හම්බ වෙන්නේ නෑ.
Solution: Devices දෙකම Miracast support කරනවද, Wi-Fi එකේද, Bluetooth/Wi-Fi Direct enable කරලද කියලා confirm කරගන්න.
Problem: "Projecting to this PC" options greyed out වෙලා.
Solution: ඔයාගේ Wi-Fi adapter/GPU එක Miracast support නොකරන්න පුළුවන්, නැත්නම් Wireless Display feature එක install කරලා නෑ.
Problem: Connection එක නිතරම drop වෙනවා.
Solution: Distance/interference අඩු කරන්න, Wi-Fi සහ GPU drivers update කරන්න, පුළුවන් තැන් වල 5 GHz use කරන්න.
Problem: Laggy නැත්නම් low-quality projection.
Solution: Bandwidth ගොඩක් ගන්න apps close කරලා signal එක ශක්තිමත් කියලා බලන්න; wired විකල්ප (HDMI) වලින් හොඳම quality එක දෙනවා.
Conclusion
Wireless Display එකෙන් cables නැතුව screen එක mirror නැත්නම් extend කරන එක ලේසි කරනවා. Casts receive කරගන්න feature එක install කරන්න, project කරන්න Windows + K press කරන්න, වෙන devices වලට ඔයාට cast කරන්න පුළුවන් වෙන්න "Projecting to this PC" configure කරන්න — ඔක්කොම Miracast උඩින්.
About TechHub
මේ guide එක TechHub Knowledge Base එකේ කොටසක්. තව step-by-step IT guides සහ support වලට techhub.com.lk එකට යන්න.