Overview
Windows 11 requires both TPM 2.0 and Secure Boot. Many PCs support them but ship with them disabled in firmware. This guide shows how to check whether your PC has each feature and how to enable them so you can install or upgrade to Windows 11.
Check and enable Secure Boot and TPM 2.0 to meet Windows 11 requirements.
Key Takeaways
- TPM 2.0 is a security chip; Secure Boot blocks untrusted boot code.
- Check TPM with tpm.msc and Secure Boot with msinfo32.
- Both are enabled in your UEFI/BIOS firmware, not in Windows.
- Many systems have them but disabled by default — turning them on is usually enough.
What Are TPM 2.0 and Secure Boot?
- TPM 2.0 (Trusted Platform Module) — a chip that securely stores keys and supports features like BitLocker and Windows Hello.
- Secure Boot — a UEFI feature that only allows trusted, signed software to load at startup, protecting against boot-level malware.
Check Secure Boot Availability
1. Press Windows key + R, type msinfo32, and press Enter.
2. In System Information, look at "Secure Boot State" (On, Off, or Unsupported) and "BIOS Mode" (should be UEFI).
3. If it says Off but the mode is UEFI, you can enable it in firmware.
Enable Secure Boot in Firmware
1. Restart and enter UEFI/BIOS (commonly Del, F2, F10, or Esc during boot).
2. Find Secure Boot (often under Boot or Security).
3. Set it to Enabled. You may need to set the OS type to "Windows UEFI mode" and clear/restore Secure Boot keys.
4. Save and exit, then recheck with msinfo32.
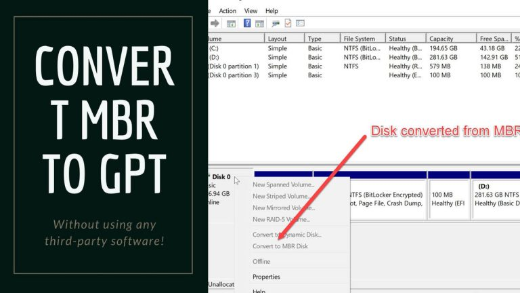
Note: Secure Boot needs UEFI mode (GPT disk). If your system is in Legacy/CSM mode (MBR), switching to UEFI may require converting the disk with MBR2GPT.
Check for TPM 2.0
1. Press Windows key + R, type tpm.msc, and press Enter.
2. Read the status: it shows whether the TPM is ready and its Specification Version (should be 2.0).
3. If it says "Compatible TPM cannot be found", enable it in firmware.
Enable TPM 2.0 in Firmware
1. Restart and enter UEFI/BIOS.
2. Find the TPM setting — it may be labelled TPM, PTT (Intel Platform Trust Technology), or fTPM (AMD).
3. Set it to Enabled.
4. Save and exit, then recheck with tpm.msc.
Troubleshooting
Problem: Secure Boot State says Unsupported.
Solution: Your system is likely in Legacy/CSM (MBR) mode. Convert the disk to GPT (mbr2gpt) and switch firmware to UEFI, then enable Secure Boot.
Problem: tpm.msc finds no TPM.
Solution: Enable TPM/PTT/fTPM in firmware. Most modern CPUs include a firmware TPM even without a discrete chip.
Problem: You cannot find the settings in BIOS.
Solution: Names vary by manufacturer. Check your motherboard/laptop manual for TPM (PTT/fTPM) and Secure Boot locations.
Problem: Windows still says the PC is unsupported.
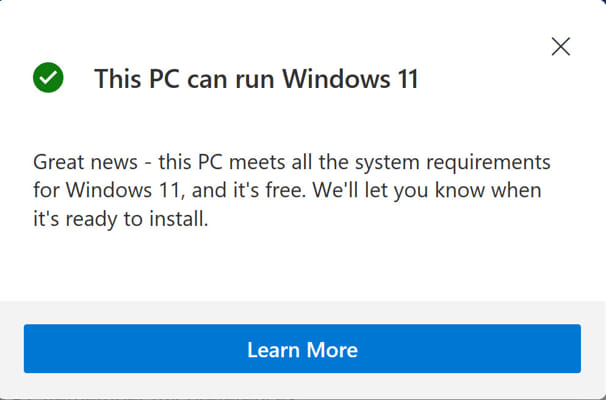
Solution: Run the PC Health Check app after enabling both features and restarting to confirm all requirements are met.
Conclusion
Checking and enabling TPM 2.0 and Secure Boot is usually a quick firmware change. Verify with tpm.msc and msinfo32, turn each on in UEFI, and your PC should meet the Windows 11 security requirements.
</w:pBdr><w:spacing w:before="220" w:after="40"/></w:pPr><w:r><w:rPr><w:b/><w:bCs/><w:color w:val="0B5394"/><w:sz w:val="21"/><w:szCs w:val="21"/><w:rFonts w:ascii="Calibri" w:cs="Calibri" w:eastAsia="Calibri" w:hAnsi="Calibri"/></w:rPr><w:t xml:space="preserve">About TechHub
This guide is part of the TechHub Knowledge Base. For more step-by-step IT guides and support, visit techhub.com.lk.