Overview
Some malware hides from antivirus while Windows is running. A bootable antivirus rescue disk loads its own clean environment before Windows starts, so it can detect and remove threats that are otherwise protected. This guide explains how to choose, create, and use one.
A bootable rescue disk scans your PC from outside Windows.
Key Takeaways
- Rescue disks boot their own OS to scan Windows offline, catching hidden malware.
- Reputable options include Kaspersky Rescue Disk, Bitdefender, ESET SysRescue, and Microsoft Defender Offline.
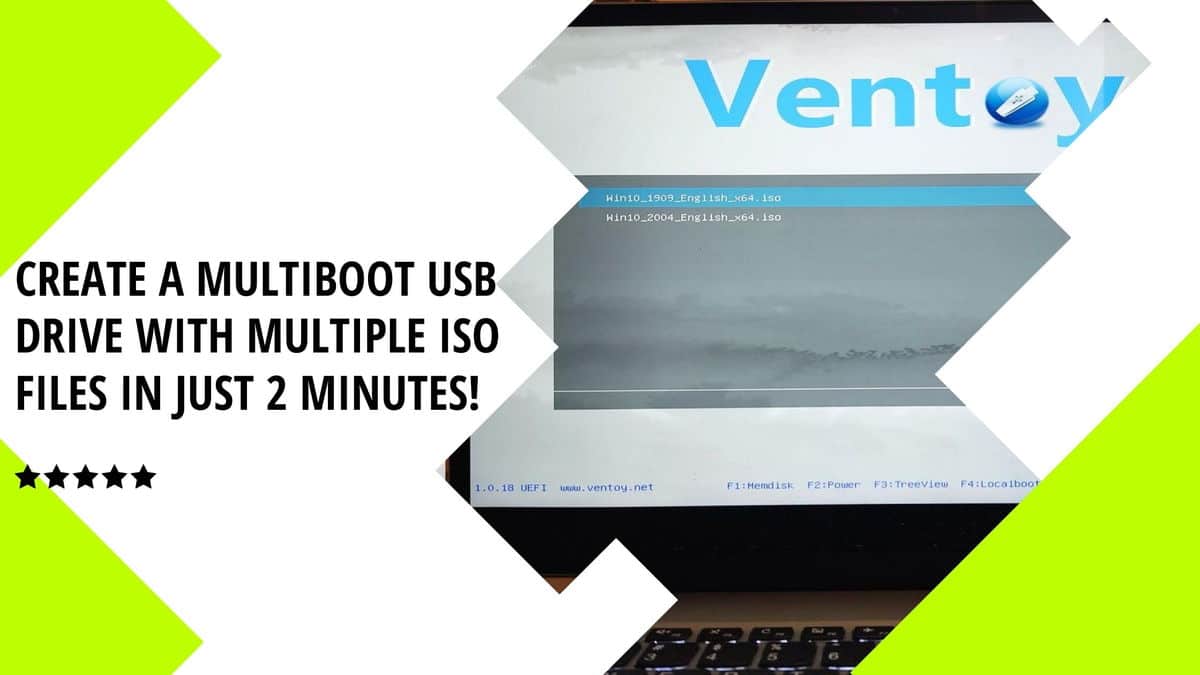
- Write the rescue ISO to a USB drive with Rufus or Ventoy.
- Update the rescue tool’s definitions before or during the scan.
When to Use a Rescue Disk
- Your normal antivirus cannot remove a persistent infection.
- Windows is unstable, locked, or will not boot due to malware.
- You suspect a rootkit or boot-level threat.
Trusted Rescue Disks
- Microsoft Defender Offline — built into Windows Security; easiest to run.
- Kaspersky Rescue Disk — well-regarded standalone bootable scanner.
- Bitdefender Rescue / ESET SysRescue — vendor bootable tools.
- Sophos, Avira, Dr.Web, and others also offer bootable rescue media.
Step 1 — Create the Rescue Media
1. On a clean PC, download the rescue ISO from the vendor’s official site.
2. Insert an 8 GB+ USB drive (its contents will be erased).
3. Use Rufus or Ventoy to write the ISO to the USB.
4. Safely eject the drive.
Warning: Download rescue ISOs only from the antivirus vendor’s official website.
Step 2 — Boot and Scan
1. Insert the USB into the infected PC and power on.
2. Open the firmware boot menu (often F12/F10/Esc) and select the USB.
3. Let the rescue environment load, then update its virus definitions if online.
4. Run a full scan and let it quarantine or remove detected threats.
5. Reboot into Windows and run a normal scan to confirm.
Easiest Option — Microsoft Defender Offline
1. Open Windows Security > Virus & threat protection > Scan options.
2. Select Microsoft Defender Antivirus (offline scan).
3. Click Scan now — the PC restarts and scans before Windows loads.
Troubleshooting
Problem: The PC will not boot from the rescue USB.
Solution: Enable USB boot in firmware and match the boot mode (UEFI vs Legacy); recreate the USB with Rufus/Ventoy if needed.
Problem: Definitions are outdated.
Solution: Connect to the internet in the rescue environment to update, or rebuild the media with a fresh ISO.
Problem: Malware returns after cleaning.
Solution: Run multiple rescue tools, then a full Windows scan; for stubborn rootkits, consider backing up data and reinstalling Windows.
Problem: No second PC to make media.
Solution: Use Microsoft Defender Offline, which runs from within Windows Security without separate media.
Conclusion
A bootable rescue disk is the most effective way to remove deeply hidden malware. Create one from a trusted vendor’s ISO, boot the infected PC from it, update definitions, and run a full scan — or use Microsoft Defender Offline for a built-in option.
</w:pBdr><w:spacing w:before="220" w:after="40"/></w:pPr><w:r><w:rPr><w:b/><w:bCs/><w:color w:val="0B5394"/><w:sz w:val="21"/><w:szCs w:val="21"/><w:rFonts w:ascii="Calibri" w:cs="Calibri" w:eastAsia="Calibri" w:hAnsi="Calibri"/></w:rPr><w:t xml:space="preserve">About TechHub
This guide is part of the TechHub Knowledge Base. For more step-by-step IT guides and support, visit techhub.com.lk.