Overview
Your computer name identifies your PC on a network and in remote-management tools. A clear, consistent naming scheme makes it much easier to find the right machine when sharing files, connecting remotely, or administering many devices. Windows offers several ways to rename a computer, both on the local machine and remotely. This guide covers four reliable methods.
Key Takeaways
- You can rename a PC from Settings, System Properties, Command Prompt, or PowerShell.
- A restart is required for the new name to take full effect.
- Use only letters, numbers, and hyphens — avoid spaces and special characters.
- PowerShell can rename a remote computer when you have the right credentials.
Method 1: Rename From Settings
1. Open Settings and go to System > About.
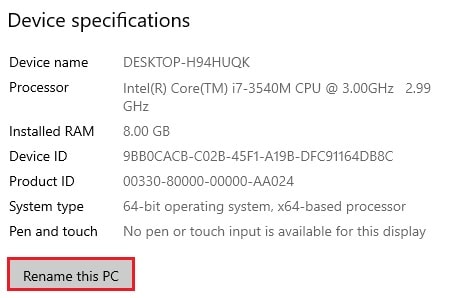
2. Click Rename this PC.
3. Enter the new name and click Next.
4. Restart the computer when prompted to apply the change.
Renaming the PC from the Settings app.
Method 2: System Properties
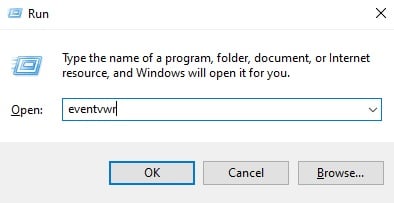
1. Press Windows + R, type sysdm.cpl, and press Enter.
2. On the Computer Name tab, click Change.
3. Type the new computer name and click OK.
4. Click OK again and restart when prompted.
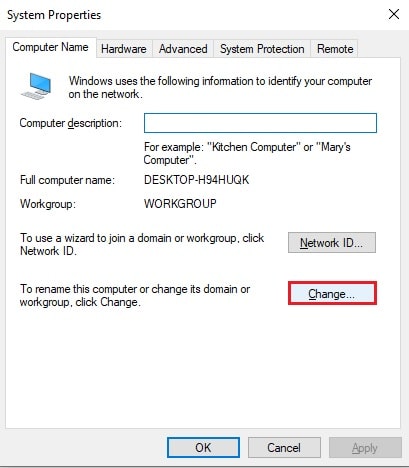
Changing the name through the System Properties dialog.
Method 3: Command Prompt
The wmic command works from an elevated Command Prompt. Replace NewName with your chosen name.
1. Open Command Prompt as an administrator.
2. Run: wmic computersystem where name="%computername%" call rename name="NewName"
3. Wait for a success message, then restart the PC.
Method 4: PowerShell (Local and Remote)
PowerShell’s Rename-Computer cmdlet handles both local and remote renames.
1. Open PowerShell as an administrator.
2. To rename the local PC run: Rename-Computer -NewName "NewName" -Restart
3. To rename a remote PC run: Rename-Computer -ComputerName "OldName" -NewName "NewName" -DomainCredential Domain\\Admin -Restart
4. Provide the credentials when prompted and let the remote machine restart.
Note: Computer names are limited to 15 characters for full network compatibility. Stick to letters, numbers, and hyphens.
Warning: On a domain, renaming a computer can affect its trust relationship. Coordinate with your domain administrator before renaming domain-joined machines.
Troubleshooting
Problem: The new name does not appear after changing it.
Solution: Restart the computer — the rename only takes full effect after a reboot.
Problem: Windows rejects the name you entered.
Solution: Remove spaces and special characters; use only letters, numbers, and hyphens within the 15-character limit.
Problem: A remote rename fails with access denied.
Solution: Run PowerShell as administrator and supply an account with administrative rights on the target computer.
Problem: A domain-joined PC loses connectivity after renaming.
Solution: Confirm the computer object in Active Directory and, if needed, rejoin the machine to the domain.
Conclusion
Whether you prefer a graphical dialog or the command line, Windows makes renaming a PC quick. For managing many machines at once, PowerShell’s remote rename is the most efficient choice.
About TechHub
This guide is part of the TechHub Knowledge Base. For more step-by-step IT guides and support, visit techhub.com.lk.