Overview
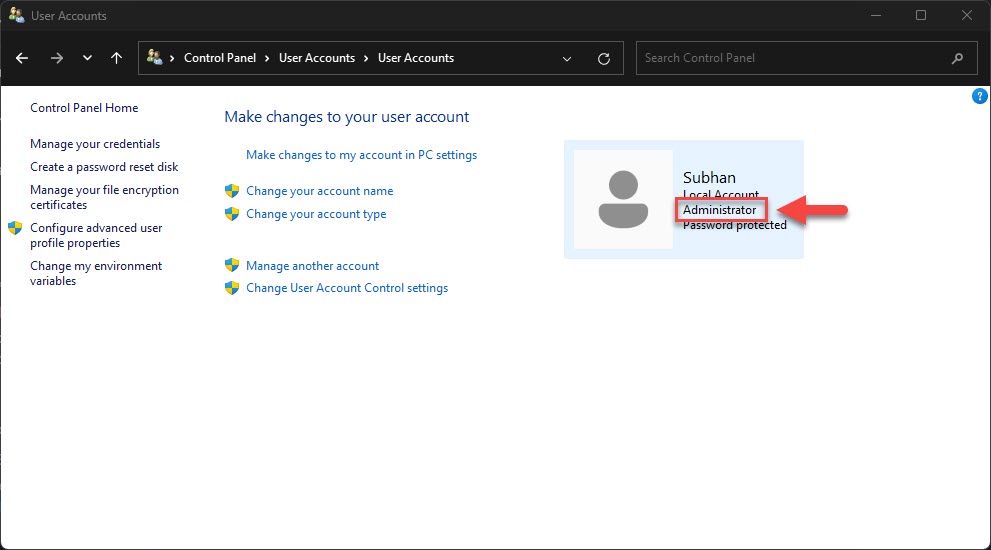
User Account Control (UAC) is a core Windows security feature that asks for confirmation before an app makes system-level changes. Occasionally administrators need to lower or disable it — for example, to run a legacy line-of-business app that is incompatible with UAC prompts. This guide first explains why UAC matters and recommends adjusting rather than disabling it, then shows the supported ways to change the setting on a computer you own and administer.
Warning: UAC is an important defense against malware and unauthorized changes. Disabling it removes a layer of protection for every account on the PC. The safe, recommended approach is to lower the UAC level or leave it on — only disable it fully when a specific, trusted application genuinely requires it, and re-enable it afterward. Never disable security features on a device you do not own or administer.
Key Takeaways
- UAC prompts for consent before software makes changes that require administrator rights.
- The safest option is to adjust the UAC slider rather than turn it off completely.
- You can change UAC through Control Panel (recommended), Group Policy, or the registry.
- Any change requires administrator rights and usually a restart to take effect.
What Is User Account Control?
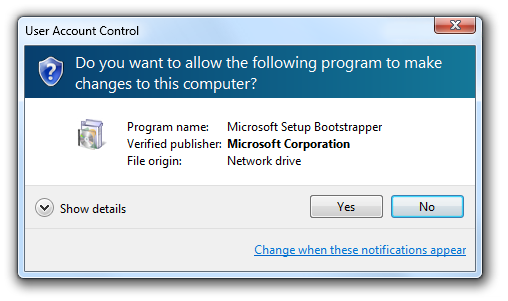
UAC ensures that changes affecting the whole system — installing software, editing protected settings, or running an app with elevated privileges — happen only with explicit approval. When an action needs administrator rights, UAC dims the screen and shows a consent prompt. This stops malware and misbehaving programs from making silent, system-wide changes.
A standard User Account Control consent prompt.
Is It Safe to Disable UAC?
Disabling UAC is generally not recommended. With UAC off, programs can gain administrator privileges without prompting you, which makes it easier for malware to make harmful changes. In most cases where UAC prompts feel intrusive, lowering the level (rather than disabling it) strikes a better balance. Reserve full disabling for controlled environments or a specific app that cannot function with UAC enabled — and turn it back on when you are done.
UAC Security Levels
The Control Panel slider offers four levels: Always notify (most secure), Notify only when apps try to make changes (the default), the same but without dimming the desktop, and Never notify (UAC effectively off). Moving the slider is the preferred way to tune UAC because it keeps the feature partially active.
Method 1: Adjust or Disable UAC from Control Panel (Recommended)
The Control Panel provides the safest, officially supported way to change UAC.
1. Press Windows + R, type useraccountcontrolsettings, and press Enter (or search for "Change User Account Control settings").
2. A slider with four levels appears. To reduce prompts safely, move it down one notch rather than to the bottom.
3. To disable UAC entirely, move the slider to the lowest position, "Never notify".
4. Click OK and approve the confirmation prompt.
5. Restart the computer for the change to take full effect.
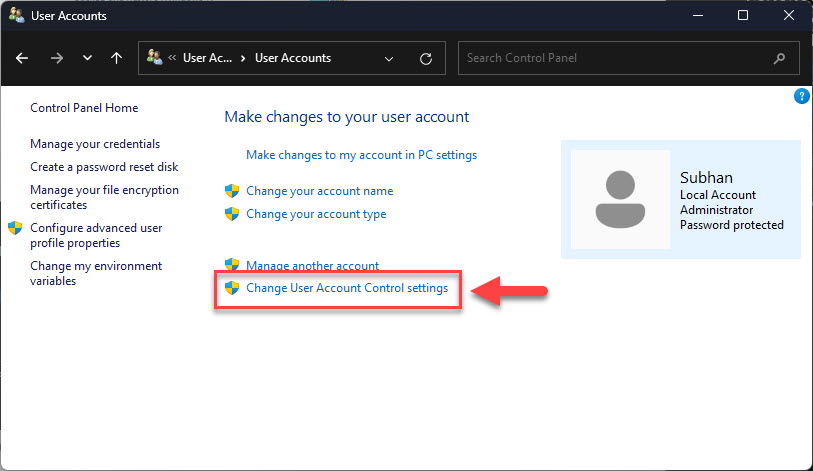
Adjusting the UAC level with the Control Panel slider.
Tip: To restore protection later, return to this screen and move the slider back to the default (second-from-top) position, then restart.
Method 2: Change UAC with Group Policy
On Windows Pro, Enterprise, and Education editions, Group Policy offers centralized control — useful for administrators managing multiple machines.
1. Press Windows + R, type gpedit.msc, and press Enter.
2. Navigate to Computer Configuration > Windows Settings > Security Settings > Local Policies > Security Options.
3. Find the "User Account Control" policies, such as "Run all administrators in Admin Approval Mode".
4. To disable UAC, set that policy to Disabled (leave it Enabled to keep UAC on).
5. Close the editor and restart the computer.
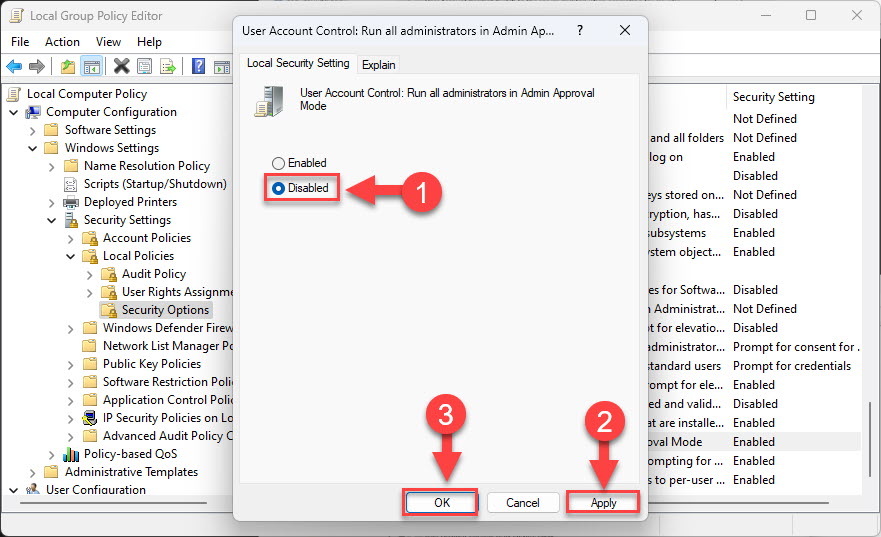
Configuring a UAC policy in the Group Policy Editor.
Note: Group Policy Editor is not available in Windows Home edition. On Home, use the Control Panel method instead.
Method 3: Change UAC in the Registry
The registry method achieves the same result and works on all editions, but should be used carefully.
Warning: Editing the registry incorrectly can cause serious problems. Back up the registry (File > Export) before changing anything and modify only the value described here.
1. Press Windows + R, type regedit, and press Enter.
2. Navigate to HKEY_LOCAL_MACHINE\SOFTWARE\Microsoft\Windows\CurrentVersion\Policies\System.
3. Double-click the "EnableLUA" DWORD value.
4. Set it to 0 to disable UAC, or 1 to keep it enabled, then click OK.
5. Restart the computer to apply the change.
The EnableLUA value that controls UAC in the registry.
Troubleshooting
Problem: The UAC change does not take effect.
Solution: Most UAC changes require a restart. Reboot the computer, then verify the setting again.
Problem: The UAC slider or settings are greyed out.
Solution: You need administrator rights, and a Group Policy set by an organization may be enforcing UAC. Sign in as an administrator, or contact your IT administrator if the device is managed.
Problem: Some apps stopped working after disabling UAC.
Solution: A few modern apps require UAC to run correctly. Re-enable UAC from the Control Panel — the recommended state for everyday use.
Problem: You want fewer prompts but not full exposure.
Solution: Do not disable UAC entirely. Lower the Control Panel slider one level so you keep protection while reducing routine prompts.
Conclusion
UAC is a valuable safeguard, so the best practice is to keep it on or simply lower its level. When a specific, trusted task on your own PC requires UAC to be off, the Control Panel is the safest place to change it, with Group Policy and the registry as alternatives. Whatever method you use, re-enable UAC once you no longer need it disabled.
About TechHub
This guide is part of the TechHub Knowledge Base. For more step-by-step IT guides and support, visit techhub.com.lk.