Overview
A guest account lets someone use your PC with limited privileges — they cannot install software, change system settings, or see your personal files. Windows 10 and 11 hide the classic built-in Guest account, so the practical approach is to create a restricted standard account. This guide shows several ways to set one up and manage its permissions.
A guest-style account gives visitors limited, private access to your PC.
Key Takeaways
- A guest account restricts software installation, settings changes, and access to your files.
- The built-in Guest account is hidden in modern Windows; create a limited standard account instead.
- You can create it from Settings, Local Users and Groups, Command Prompt, or PowerShell.
- Keep the account a Standard user (not Administrator) to enforce the limits.
What Is a Guest Account?
A guest account is a low-privilege user profile for temporary or shared use. It keeps your data private and your settings intact, because the guest cannot access other users’ files, install programs, or make administrative changes.
Method 1 — Create a Limited Account From Settings
1. Open Settings > Accounts > Other users (or Family & other users).
2. Click Add account, then choose "I don’t have this person’s sign-in information".
3. Select "Add a user without a Microsoft account".
4. Enter a name such as Visitor, leave the password blank or set a simple one, and finish.
5. Ensure the account type is Standard user, not Administrator.
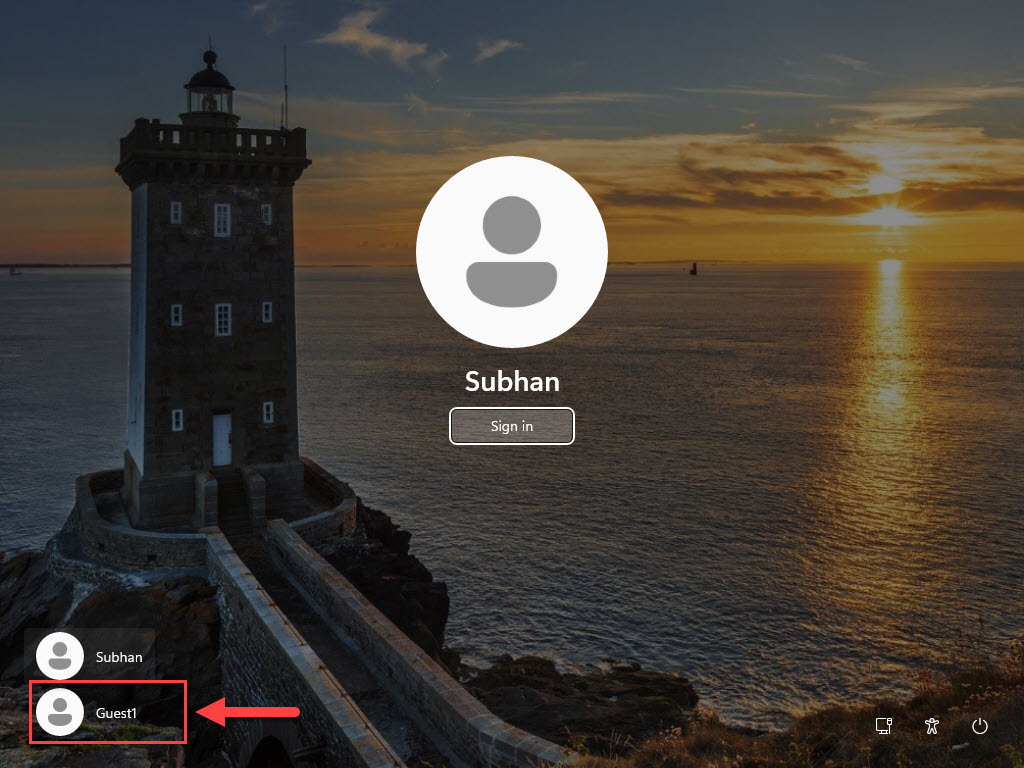
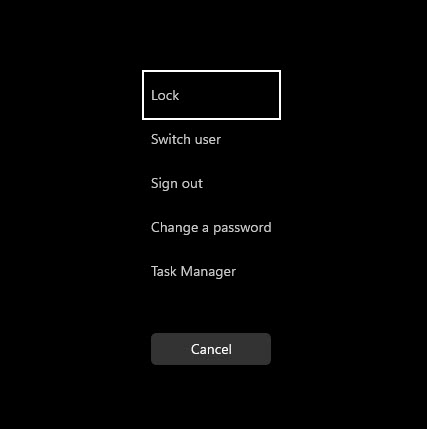
A guest can sign in to their limited account from the lock screen.
Method 2 — Local Users and Groups
1. Press Windows key + R, type lusrmgr.msc, and press Enter (Pro/Enterprise editions).
2. Right-click Users and choose New User.
3. Enter the name (e.g. Visitor), clear "User must change password", and click Create.
4. Double-click the new user, open Member Of, remove Users, and add the Guests group for the most limited access.
Method 3 — Command Prompt
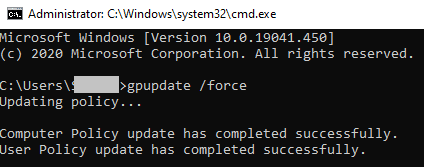
1. Press Windows key + R, type cmd, and press Ctrl + Shift + Enter for an elevated prompt.
2. Create the account: net user Visitor /add
3. Add it to the Guests group: net localgroup Guests Visitor /add
4. Optionally remove it from Users: net localgroup Users Visitor /delete
Method 4 — PowerShell
1. Right-click Start and open Windows PowerShell (Admin).
2. Create the account: New-LocalUser -Name "Visitor" -NoPassword
3. Add it to the Guests group: Add-LocalGroupMember -Group "Guests" -Member "Visitor"
Manage Guest Account Permissions
- Keep the account as a Standard user / Guests member so it cannot make system changes.
- Do not grant administrator rights to a guest account.
- Remove the account when no longer needed via Settings > Accounts > Other users > Remove.
Troubleshooting
Problem: There is no Guest option in Settings.
Solution: Modern Windows hides the built-in Guest account. Create a limited standard account using the steps above instead.
Problem: The guest can change settings or install apps.
Solution: The account is an Administrator. Change it to Standard user in Settings > Accounts > Other users, or move it to the Guests group.
Problem: net user command fails.
Solution: Run Command Prompt as administrator (Ctrl + Shift + Enter); creating accounts requires elevation.
Problem: You want to remove the guest account.
Solution: Open Settings > Accounts > Other users, select the account, and click Remove — or use net user Visitor /delete.
Conclusion
Although the classic Guest account is hidden in modern Windows, a limited standard account does the same job — letting visitors use your PC safely while keeping your data and settings protected. Just remember to keep it a Standard user.
</w:pBdr><w:spacing w:before="220" w:after="40"/></w:pPr><w:r><w:rPr><w:b/><w:bCs/><w:color w:val="0B5394"/><w:sz w:val="21"/><w:szCs w:val="21"/><w:rFonts w:ascii="Calibri" w:cs="Calibri" w:eastAsia="Calibri" w:hAnsi="Calibri"/></w:rPr><w:t xml:space="preserve">About TechHub
This guide is part of the TechHub Knowledge Base. For more step-by-step IT guides and support, visit techhub.com.lk.