Overview
Windows encourages signing in with a Microsoft account, but you may prefer a local account for privacy or on a shared PC. This guide shows how to switch your account to local and how to remove a secondary Microsoft account.
Key Takeaways
- You can convert your Microsoft account sign-in to a local account.
- Removing an account is different from switching your own sign-in type.
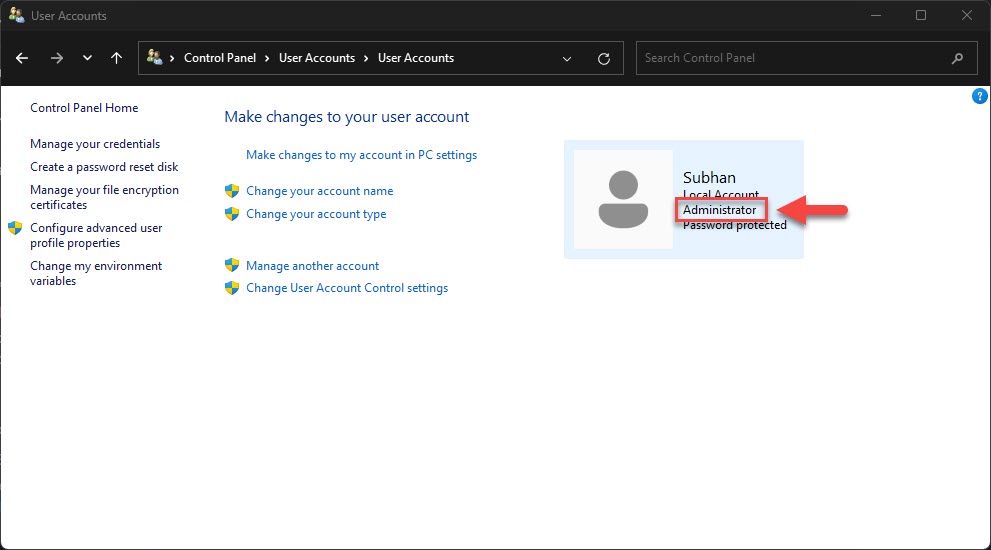
- You need at least one administrator account to remain on the PC.
- Some Store and sync features require a Microsoft account.
Switch to a Local Account
1. Open Settings > Accounts > Your info.
2. Click Sign in with a local account instead.
3. Verify your identity, then set a local username and password.
4. Sign out and back in to complete the switch.
Remove a Secondary Account
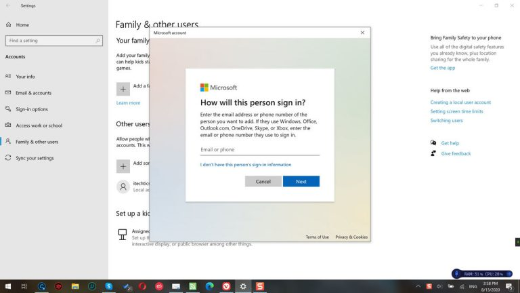
1. Go to Settings > Accounts > Family & other users.
2. Select the Microsoft account you want to remove.
3. Click Remove and confirm.
4. Ensure another administrator account still exists before removing.
Warning: Removing an account deletes its local profile data. Back up that user’s files first, as this cannot be undone.
Troubleshooting
Problem: The switch-to-local option is missing.
Solution: You may already use a local account, or a policy blocks the change; check with your administrator.
Problem: You cannot remove the last account.
Solution: Create another administrator account first, since Windows requires at least one admin.
Problem: Store apps stop working after switching.
Solution: You can still sign in to the Store with a Microsoft account without using it for Windows sign-in.
Problem: You forgot the new local password.
Solution: Use a password reset disk or an administrator account to reset it.
Conclusion
Whether you want more privacy or are cleaning up shared PC accounts, Windows makes it easy to move to a local account or remove one you no longer need — just keep one administrator in place.
About TechHub
This guide is part of the TechHub Knowledge Base. For more step-by-step IT guides and support, visit techhub.com.lk.