Overview
Windows uses groups to manage permissions. Adding a user to a group such as Administrators or Remote Desktop Users grants them that group’s rights. This guide covers several ways to add a user to a group.
Key Takeaways
- Groups bundle permissions so you assign rights consistently.
- Local Users and Groups is the graphical tool for this.
- The net localgroup command adds users from the command line.
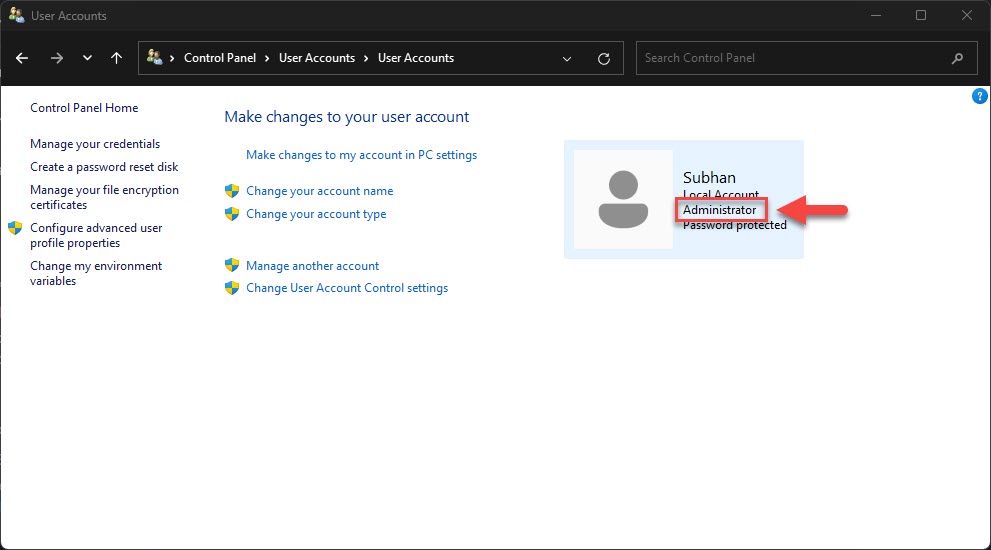
- You need administrator rights to change group membership.
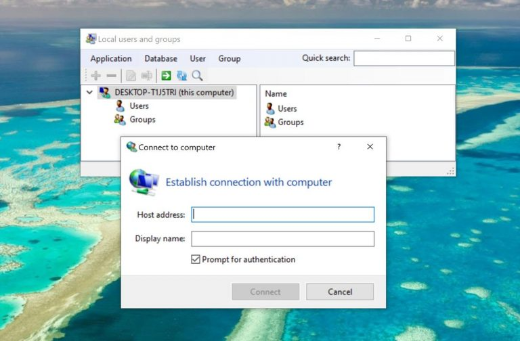
Use Local Users and Groups
1. Press Windows + R, type lusrmgr.msc, and press Enter.
2. Open Groups and double-click the target group.
3. Click Add, type the username, and click Check Names.
4. Click OK to add the user to the group.
Use the Command Line
1. Open Command Prompt as an administrator.
2. Add a user: net localgroup "Administrators" username /add
3. Verify with: net localgroup "Administrators"
4. Remove later with the /delete switch if needed.
Note: lusrmgr.msc is unavailable on Windows Home; use the net localgroup command there instead.
Troubleshooting
Problem: lusrmgr.msc will not open.
Solution: On Windows Home this tool is absent; use net localgroup from an elevated prompt.
Problem: The username is not found.
Solution: Use Check Names or the exact account name, and include the domain for domain accounts.
Problem: Access is denied adding to a group.
Solution: Run the tool or command prompt as an administrator.
Problem: The new permissions do not apply.
Solution: Have the user sign out and back in, as group membership is evaluated at logon.
Conclusion
Group membership is the cleanest way to manage user permissions in Windows. Use Local Users and Groups for a visual approach or net localgroup for quick, scriptable changes.
About TechHub
This guide is part of the TechHub Knowledge Base. For more step-by-step IT guides and support, visit techhub.com.lk.