Overview
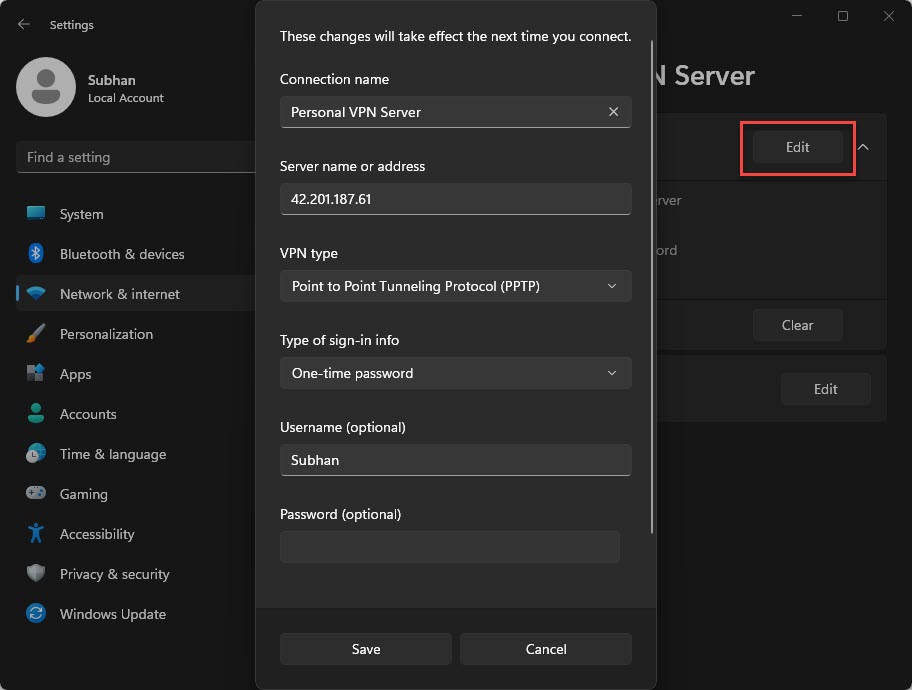
PowerShell can create and manage VPN connections, which is ideal for scripting and deploying the same profile to many machines. This guide covers adding, connecting, and removing VPN profiles with the built-in VPN cmdlets.
Key Takeaways
- The Add-VpnConnection cmdlet creates a VPN profile.
- Get-VpnConnection lists existing profiles.
- rasdial connects and disconnects a profile.
- Remove-VpnConnection deletes a profile.
Add and Connect
1. Open PowerShell as an administrator.
2. Create a profile: Add-VpnConnection -Name "Work VPN" -ServerAddress vpn.example.com -TunnelType Automatic
3. List profiles to confirm: Get-VpnConnection
4. Connect with: rasdial "Work VPN"
Manage and Remove
1. Adjust settings with Set-VpnConnection, for example to change the tunnel type or split tunneling.
2. Disconnect with: rasdial "Work VPN" /disconnect
3. Remove a profile with: Remove-VpnConnection -Name "Work VPN" -Force
4. Re-run Get-VpnConnection to confirm the change.
Note: For authentication, supply the appropriate options for your VPN type; never hard-code credentials in shared scripts.
Troubleshooting
Problem: Add-VpnConnection reports access denied.
Solution: Run PowerShell as administrator, or add -AllUserConnection with the right privileges.
Problem: The VPN will not connect.
Solution: Confirm the server address, tunnel type, and authentication settings match your VPN’s requirements.
Problem: The profile is not visible to other users.
Solution: Create it with -AllUserConnection so all accounts can use it.
Problem: You need to change a setting.
Solution: Use Set-VpnConnection rather than recreating the profile.
Conclusion
PowerShell’s VPN cmdlets make creating and managing connections fully scriptable. Use Add-VpnConnection to deploy profiles consistently and rasdial to connect on demand.
About TechHub
This guide is part of the TechHub Knowledge Base. For more step-by-step IT guides and support, visit techhub.com.lk.