Overview
"Microsoft Print to PDF" කියන්නේ ඕනෑම document එකක් PDF එකක් විදිහට save කරන built-in virtual printer එකක්. ඒක printer list එකෙන් අතුරුදහන් වුණොත්, සාමාන්යයෙන් ඒකට හේතුව optional feature එක off වෙලා තිබීම හෝ printer එක remove වෙලා තිබීම. ඒක Windows Features එකෙන්, printer එක manually add කරලා, නැත්නම් තනි PowerShell හෝ Command Prompt command එකකින් restore කරන්න පුළුවන්.
Key Takeaways
- Microsoft Print to PDF කියන්නේ on/off කරන්න පුළුවන් optional Windows feature එකක්.
- බොහෝ අවස්ථාවලදී feature එක නැවත enable කරාම virtual printer එක restore වෙනවා.
- Devices and Printers හරහා printer එක manually add කරන්නත් පුළුවන්.
- PowerShell සහ Command Prompt වලින් ඒක නැවත enable කරන්න one-line ක්රම තියෙනවා.
Method 1: Re-enable the Optional Feature
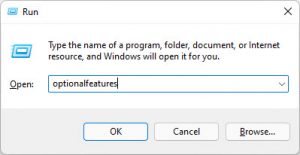
1. Win + R press කරලා optionalfeatures type කරලා Enter press කරන්න.
2. Windows Features window එකේ "Microsoft Print to PDF" හොයාගන්න.
3. ඒක unchecked නම් tick කරන්න; දැනටමත් checked නම් untick කරලා OK click කරලා, ඊට පස්සේ නැවතත් re-tick කරන්න (මේකෙන් ඒක reinstall වෙනවා).
4. OK click කරලා, prompt වුණොත් restart කරන්න.
Windows Features window එකේ "Microsoft Print to PDF" toggle කරන්න.
Method 2: Add the Printer Manually
1. Settings > Bluetooth & devices > Printers & scanners open කරලා "Add device" click කරන්න.
2. ඒක එකක් හොයාගන්නේ නැති වුණාම "Add manually" / "The printer that I want isn't listed" තෝරන්න.
3. "Add a local printer or network printer with manual settings" තෝරන්න.
4. තියෙන port එක වන PORTPROMPT: (Local Port) පාවිච්චි කරලා, manufacturer විදිහට Microsoft සහ printer විදිහට "Microsoft Print to PDF" තෝරලා, wizard එක අවසන් කරන්න.
Method 3: Use PowerShell or Command Prompt
1. PowerShell එක administrator විදිහට open කරන්න.
2. Run කරන්න: Enable-WindowsOptionalFeature -Online -FeatureName Printing-PrintToPDFServices-Features
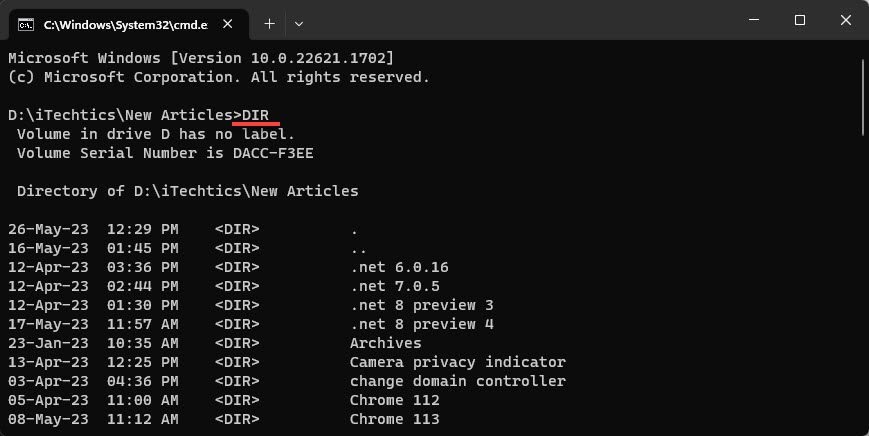
3. නැත්නම්, elevated Command Prompt එකක run කරන්න: dism /Online /Enable-Feature /FeatureName:"Printing-PrintToPDFServices-Features" /All
4. PC එක restart කරලා printer list එක check කරන්න.
NOTE: Feature එක stuck වෙලා වගේ පෙනුනොත්, මුලින්ම ඒක disable කරලා (Disable-WindowsOptionalFeature ... ), restart කරලා, ඊට පස්සේ clean reinstall එකකට නැවත enable කරන්න.
Troubleshooting
Problem: Feature එක enable කරාට පස්සෙත් Print to PDF එක නෑ.
Solution: Print Spooler service එක restart කරලා (services.msc > Print Spooler > Restart) printer list එක නැවත check කරන්න.
Problem: Manual wizard එකට Microsoft Print to PDF driver එක හොයාගන්න බෑ.
Solution: Driver selection step එකේ "Windows Update" click කරලා built-in driver list එක refresh කරලා, ඊට පස්සේ ඒක නැවත තෝරන්න.
Problem: PDF එකට print කරාම error එකක් හෝ blank file එකක් හැදෙනවා.
Solution: ඔබේ Windows installation එක update කරලා feature එක reinstall කරන්න; corrupt වුණු spooler cache එකක් Print Spooler එක restart කරලාත් clear කරන්න පුළුවන්.
Problem: Option එක නැවත නැවත අතුරුදහන් වෙනවා.
Solution: Third-party PDF හෝ printer tool එකක් interfere වෙනවා වෙන්න පුළුවන්. Conflict වෙන virtual printers අයින් කරලා Microsoft Print to PDF නැවත add කරන්න.
Conclusion
Print to PDF restore කරන එක ඉක්මනින් කරන්න පුළුවන්: optional feature එක නැවත toggle කරන්න, printer එක manually add කරන්න, නැත්නම් තනි enable command එකක් run කරන්න. ඒක ආපහු ආවම ඕනෑම document එකක් print dialog එකෙන්ම කෙලින්ම PDF එකකට save කරන්න පුළුවන්.
About TechHub
මේ guide එක TechHub Knowledge Base එකේ කොටසක්. තව step-by-step IT guides සහ support වලට techhub.com.lk එකට යන්න.