Overview
Remote Desktop can use all of your local monitors so a remote session feels like sitting at the machine. This guide explains how to enable multi-monitor support and how to span or select specific displays.
Key Takeaways
- Remote Desktop supports using all local monitors at once.
- The /multimon switch enables true multi-monitor mode.
- The /span switch stretches the session across displays.
- The remote PC must support and allow multi-monitor sessions.
Enable Multi-Monitor Mode
1. Open Remote Desktop Connection and click Show Options.
2. On the Display tab, tick Use all my monitors for the remote session.
3. Connect as usual to span all monitors.
4. Alternatively launch with: mstsc /multimon
Span vs Multimon
1. Use /multimon to treat each display separately, matching your local layout.
2. Use mstsc /span to stretch the session as one wide desktop across monitors.
3. Choose span for a single continuous workspace and multimon for independent displays.
4. Save an .rdp file to reuse your preferred setup.
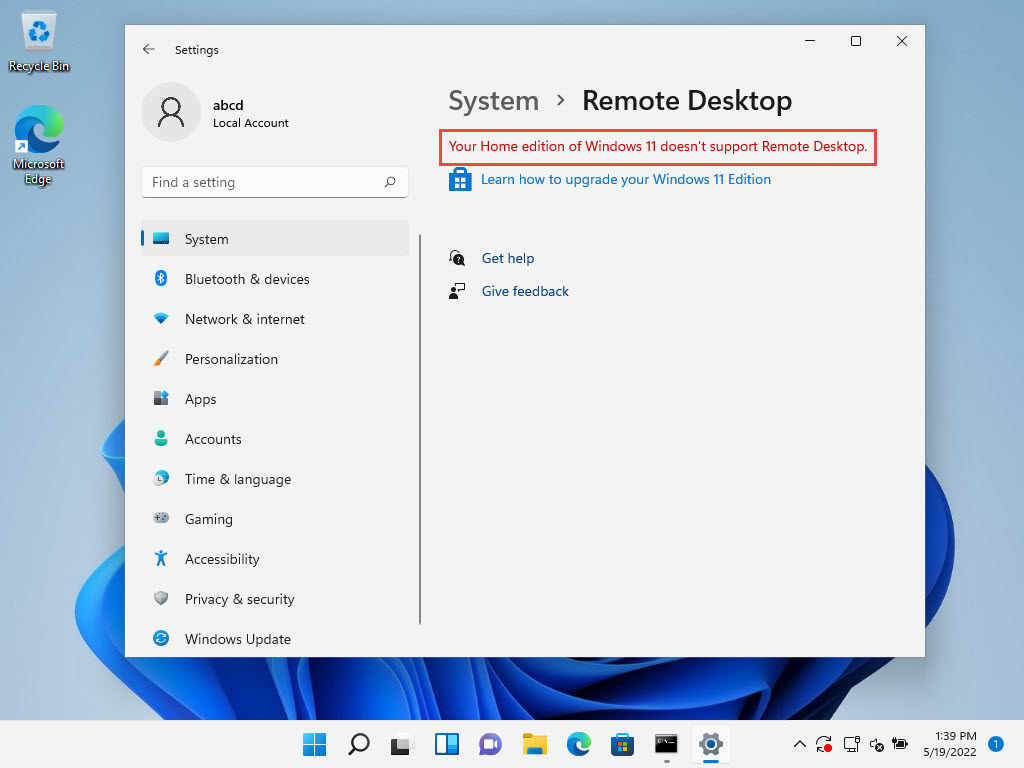
Note: Multi-monitor Remote Desktop works best when both PCs run a supported edition; some client editions limit these features.
Troubleshooting
Problem: The session only uses one monitor.
Solution: Enable Use all my monitors on the Display tab or connect with the /multimon switch.
Problem: Windows spread oddly across displays.
Solution: Try /multimon instead of /span so each monitor is treated independently.
Problem: Performance drops with multiple monitors.
Solution: Lower the color depth and disable visual effects on the Experience tab.
Problem: Multi-monitor options are unavailable.
Solution: Confirm both the client and host editions support the feature and that policies permit it.
Conclusion
With multi-monitor support, a Remote Desktop session uses your full display setup. Pick multimon for independent screens or span for one wide desktop.
About TechHub
This guide is part of the TechHub Knowledge Base. For more step-by-step IT guides and support, visit techhub.com.lk.