Overview
සමහර malware Windows run වෙනකොට antivirus එකෙන් හැංගිලා ඉන්නවා. Bootable antivirus rescue disk එකක් Windows start වෙන්න කලින් ඒකේම clean environment එකක් load කරනවා, ඒ නිසා නැත්නම් protected වෙන threats detect කරලා remove කරන්න පුළුවන්. මේ guide එකෙන් එකක් තෝරලා, හදලා, පාවිච්චි කරන ආකාරය පැහැදිලි කරනවා.
Bootable rescue disk එකක් Windows එකෙන් පිටින් ඔබේ PC එක scan කරනවා.
Key Takeaways
- Rescue disks ඒවායේම OS එකක් boot කරලා Windows offline scan කරනවා, හැංගුණ malware අල්ලනවා.
- Reputable options: Kaspersky Rescue Disk, Bitdefender, ESET SysRescue, සහ Microsoft Defender Offline.
- Rescue ISO එක Rufus හෝ Ventoy එකෙන් USB drive එකකට write කරන්න.
- Scan එකට කලින් හෝ scan එකේදී rescue tool එකේ definitions update කරන්න.
කවදද Rescue Disk එකක් පාවිච්චි කරන්නේ
- ඔබේ normal antivirus එකට persistent infection එකක් remove කරන්න බෑ.
- Malware නිසා Windows unstable, locked, හෝ boot වෙන්නේ නෑ.
- Rootkit එකක් හෝ boot-level threat එකක් තියෙනවා කියලා සැක.
Trusted Rescue Disks
- Microsoft Defender Offline — Windows Security එකේ built-in; run කරන්න ලේසිම.
- Kaspersky Rescue Disk — හොඳ නමක් තියෙන standalone bootable scanner.
- Bitdefender Rescue / ESET SysRescue — vendor bootable tools.
- Sophos, Avira, Dr.Web, සහ තව ඒවාත් bootable rescue media දෙනවා.
Step 1 — Rescue Media එක හදන්න
1. Clean PC එකක, vendor's official site එකෙන් rescue ISO එක download කරන්න.
2. 8 GB+ USB drive එකක් දාන්න (ඒකේ contents මැකෙනවා).
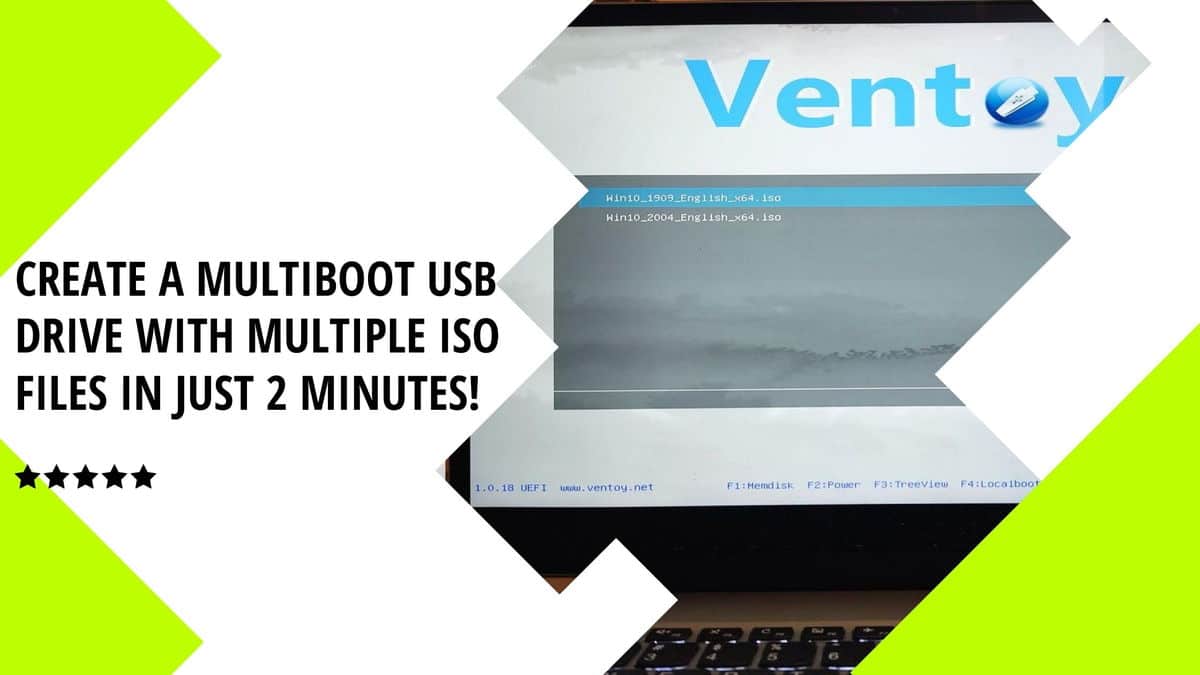
3. ISO එක USB එකට write කරන්න Rufus හෝ Ventoy පාවිච්චි කරන්න.
4. Drive එක safely eject කරන්න.
Warning: Rescue ISOs download කරන්නේ antivirus vendor එකේ official website එකෙන් විතරයි.
Step 2 — Boot කරලා Scan කරන්න
1. USB එක infected PC එකට දාලා power on කරන්න.
2. Firmware boot menu එක (බොහෝවිට F12/F10/Esc) open කරලා USB එක select කරන්න.
3. Rescue environment එක load වෙන්න දීලා, online නම් ඒකේ virus definitions update කරන්න.
4. Full scan එකක් run කරලා, detect වුණ threats quarantine හෝ remove කරන්න දෙන්න.
5. Windows එකට reboot කරලා confirm කරන්න normal scan එකක් run කරන්න.
ලේසිම Option — Microsoft Defender Offline
1. Windows Security > Virus & threat protection > Scan options open කරන්න.
2. Microsoft Defender Antivirus (offline scan) select කරන්න.
3. Scan now click කරන්න — PC එක restart වෙලා Windows load වෙන්න කලින් scan කරනවා.
Troubleshooting
Problem: PC එක rescue USB එකෙන් boot වෙන්නේ නෑ.
Solution: Firmware එකේ USB boot enable කරලා boot mode එක (UEFI vs Legacy) match කරන්න; ඕන නම් Rufus/Ventoy එකෙන් USB එක ආපහු හදන්න.
Problem: Definitions outdated.
Solution: Update කරන්න rescue environment එකේ internet එකට connect වෙන්න, නැත්නම් fresh ISO එකකින් media එක ආපහු හදන්න.
Problem: Clean කළාට පස්සේ malware ආපහු එනවා.
Solution: Rescue tools කිහිපයක් run කරලා, ඊට පස්සේ full Windows scan එකක්; stubborn rootkits වලට, data backup කරලා Windows reinstall කරන එක සලකා බලන්න.
Problem: Media හදන්න දෙවෙනි PC එකක් නෑ.
Solution: වෙනම media නැතුව Windows Security ඇතුළෙන් run වෙන Microsoft Defender Offline පාවිච්චි කරන්න.
Conclusion
ගැඹුරින් හැංගුණ malware remove කරන්න effective ම ක්රමය bootable rescue disk එකක්. Trusted vendor එකේ ISO එකකින් එකක් හදලා, infected PC එක ඒකෙන් boot කරලා, definitions update කරලා, full scan එකක් run කරන්න — නැත්නම් built-in option එකකට Microsoft Defender Offline පාවිච්චි කරන්න.
About TechHub
මේ guide එක TechHub Knowledge Base එකේ කොටසක්. තව step-by-step IT guides සහ support වලට techhub.com.lk එකට යන්න.