Overview
Windows caches data in RAM to speed things up, but over a long session that cached memory can build up and leave less free RAM for active apps. This guide shows practical ways to clear the memory cache and reduce memory pressure so your PC stays responsive.
Clearing cached memory can keep your PC responsive during long sessions.
Key Takeaways
- A restart is the simplest, most effective way to clear the memory cache.
- Closing RAM-hungry background apps frees memory immediately.
- Reducing startup programs lowers memory use from the moment Windows loads.
- Tools like RAMMap can flush specific cache types without a restart.
When to Clear the Memory Cache
- Your PC feels sluggish after being on for a long time.
- Apps are slow to switch or open despite having enough installed RAM.
- Task Manager shows high memory usage from cached or background processes.
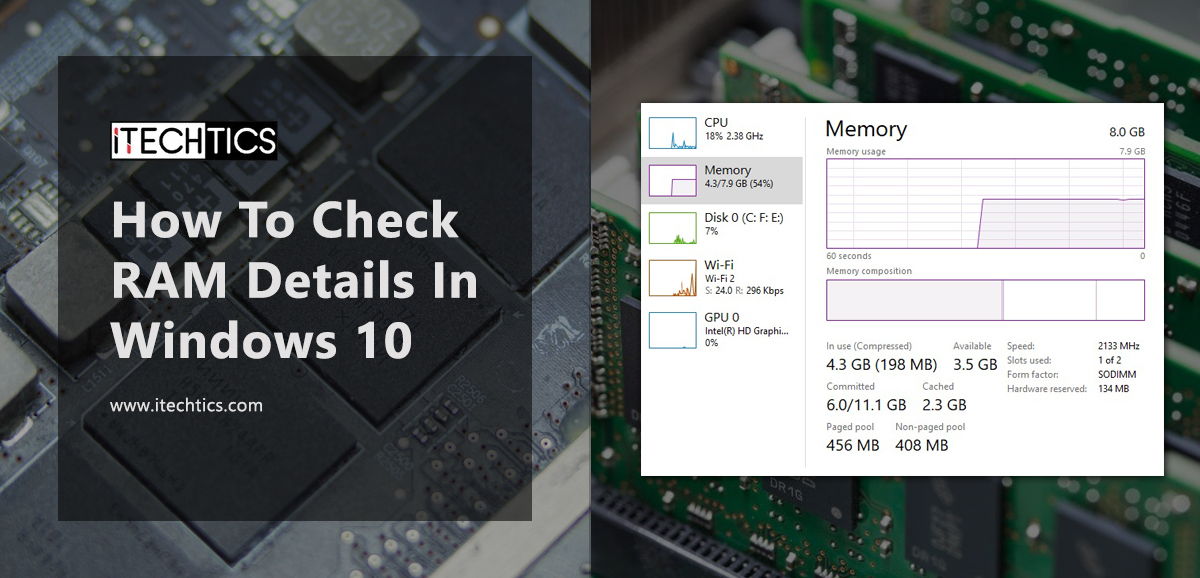
How to Check Memory Cache Size
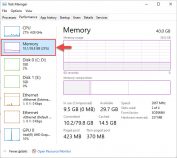
1. Press Ctrl + Shift + Esc to open Task Manager.
2. Open the Performance tab and select Memory.
3. Check the Cached and In use values to see how memory is being used.
Method 1 — Restart the Computer
1. Save your work and close open apps.
2. Restart Windows — this clears all cached memory and running processes.
3. This is the quickest reliable way to reset memory usage.
Method 2 — Close Memory-Hungry Processes
1. Open Task Manager (Ctrl + Shift + Esc) and the Processes tab.
2. Click the Memory column to sort by usage.
3. Select an app you no longer need and click End task.
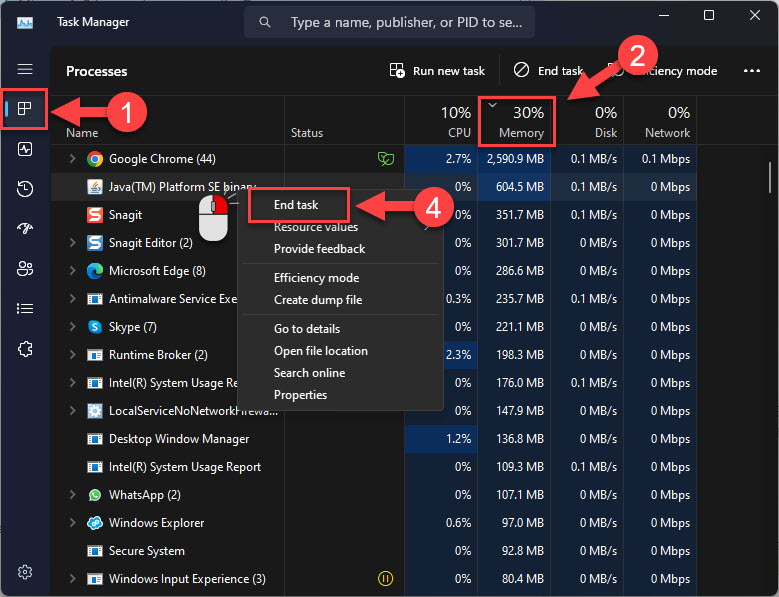
End memory-hungry processes in Task Manager to free RAM.
Method 3 — Reduce Startup Programs
1. Open Task Manager and the Startup apps tab.
2. Select programs you do not need at startup and click Disable.
3. Restart so fewer apps load into memory.
Method 4 — Adjust for Best Performance
1. Press Windows key + R, type sysdm.cpl, and press Enter.
2. On the Advanced tab, under Performance, click Settings.
3. Choose "Adjust for best performance" (or customise) to reduce visual effects that use memory, then click OK.
Method 5 — Clear the Page File on Shutdown
Warning: This involves the registry. Back it up first (File > Export).
1. Open Registry Editor and go to HKEY_LOCAL_MACHINE\SYSTEM\CurrentControlSet\Control\Session Manager\Memory Management.
2. Set ClearPageFileAtShutdown to 1.
3. Restart; the page file is cleared on each shutdown (shutdowns take a little longer).
Method 6 — Use RAMMap
1. Download RAMMap from Microsoft Sysinternals (official).
2. Open it and choose Empty > Empty Standby List (or the relevant option) to flush cached memory.
3. Use this when you want to clear cache without restarting.
Troubleshooting
Problem: Memory fills up again quickly.
Solution: A specific app may be leaking memory. Identify it in Task Manager, update or reinstall it, and disable it at startup if not needed.
Problem: High "Cached" memory worries you.
Solution: Cached memory is normal and is released when apps need it — you usually do not need to clear it manually.
Problem: PC still slow after clearing cache.
Solution: You may simply need more RAM for your workload, or there is a background process or malware consuming memory. Scan and review startup apps.
Problem: Shutdown is much slower after enabling page-file clearing.
Solution: That is expected. Set ClearPageFileAtShutdown back to 0 if the slower shutdown is not worth it.
Conclusion
A restart clears the memory cache instantly, while closing heavy processes and trimming startup apps keep memory free day to day. Reach for RAMMap when you want to flush cache without rebooting.
</w:pBdr><w:spacing w:before="220" w:after="40"/></w:pPr><w:r><w:rPr><w:b/><w:bCs/><w:color w:val="0B5394"/><w:sz w:val="21"/><w:szCs w:val="21"/><w:rFonts w:ascii="Calibri" w:cs="Calibri" w:eastAsia="Calibri" w:hAnsi="Calibri"/></w:rPr><w:t xml:space="preserve">About TechHub
This guide is part of the TechHub Knowledge Base. For more step-by-step IT guides and support, visit techhub.com.lk.