Overview
Before adding memory to a desktop or laptop, you need to know how many RAM slots the motherboard has and how many are already occupied. Windows can report this without opening the case, using built-in tools such as Task Manager, Command Prompt, and PowerShell. This guide covers the quickest software methods and when a physical check is still worthwhile.
Key Takeaways
- Task Manager shows used and total slots on its Memory page in seconds.
- Command Prompt and PowerShell can report the exact slot count with a single command.
- Free tools such as CPU-Z give detailed information about each installed module.
- A physical inspection is the only way to confirm slot condition and module orientation.
Method 1: Check RAM Slots in Task Manager
1. Press Ctrl + Shift + Esc to open Task Manager.
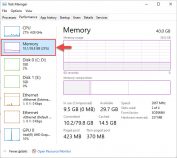
2. Open the Performance tab, then select Memory in the left column.
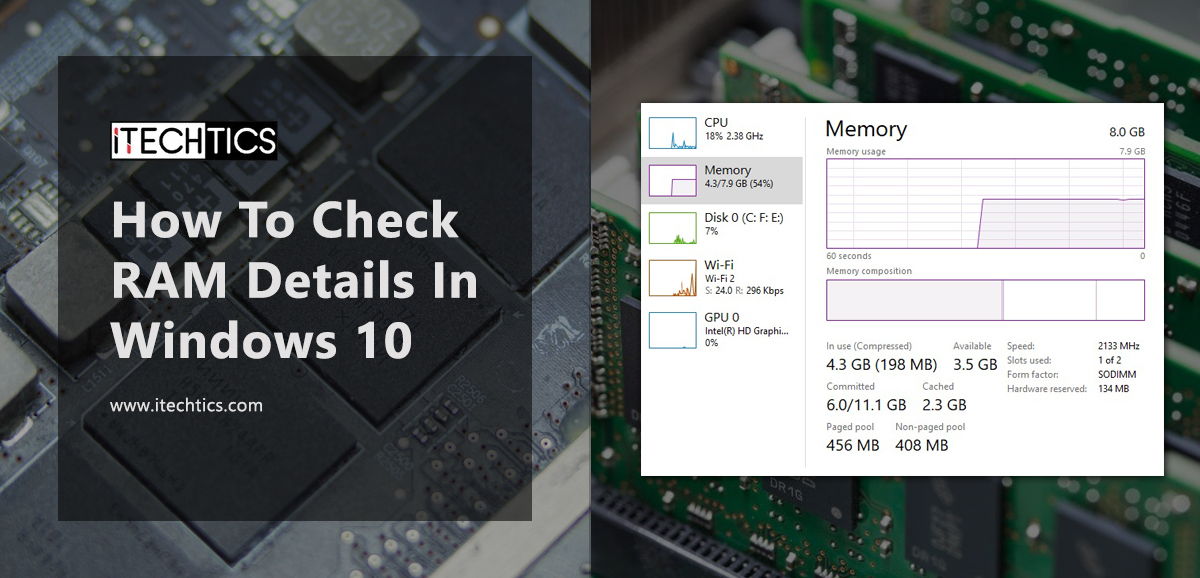
3. Look at the "Slots used" figure — it shows the used slots out of the total available, for example 2 of 4.
Task Manager reports used and total memory slots on the Memory page.
Method 2: Check RAM Slots with Command Prompt
1. Open Command Prompt as administrator.
2. Run: wmic memphysical get MaxCapacity, MemoryDevices — the MemoryDevices value is the total number of slots.
3. Run: wmic memorychip get DeviceLocator, Capacity to list each populated slot and its module size.
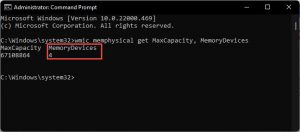
The MemoryDevices value returned by wmic shows the total slot count.
Method 3: Check RAM Slots with PowerShell
1. Open Windows PowerShell.
2. Run: Get-WmiObject Win32_PhysicalMemoryArray | Select-Object MemoryDevices for the total slot count.
3. Run: Get-WmiObject Win32_PhysicalMemory | Select-Object DeviceLocator, Capacity to see which slots are populated.
NOTE: The wmic command is deprecated in the newest Windows builds. If it is unavailable, use the PowerShell commands above, which return the same information.
Method 4: Use CPU-Z or a Physical Check
1. Download CPU-Z from the official CPUID website and install it.
2. Open the SPD tab and use the slot selector to inspect each memory slot and the module installed in it.
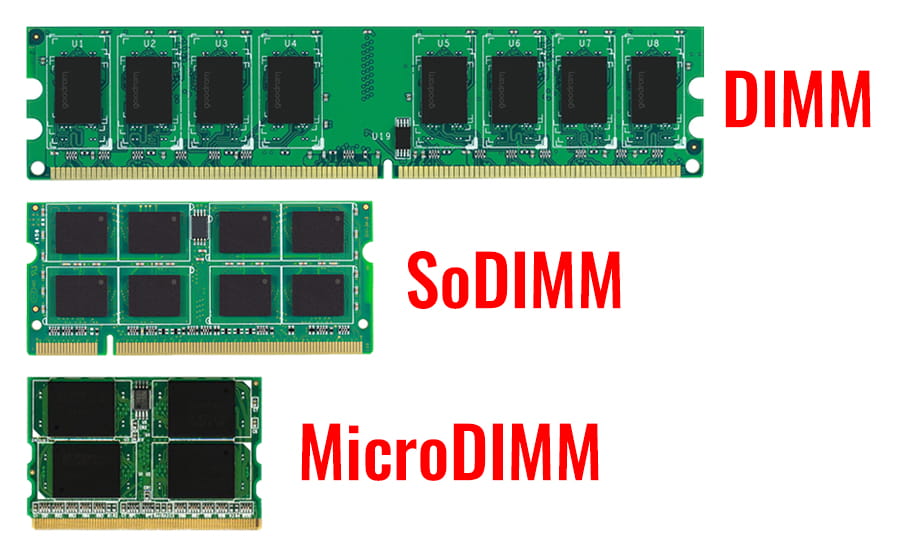
3. For a physical check, power down fully, unplug, open the case or laptop panel, and visually confirm the empty and occupied slots.
WARNING: Always shut down and disconnect power before opening a computer, and discharge static electricity before touching internal components.
Troubleshooting
Problem: Task Manager does not show a "Slots used" line.
Solution: Some systems, especially laptops with soldered memory, do not expose slot data. Use CPU-Z or your device specifications instead.
Problem: wmic is not recognized as a command.
Solution: The WMIC feature has been retired in recent Windows versions. Use the equivalent Get-WmiObject or Get-CimInstance PowerShell commands.
Problem: Reported total capacity is lower than the memory you installed.
Solution: A module may be seated poorly or unsupported. Reseat it, confirm it matches the motherboard specification, and update the BIOS if needed.
Problem: New RAM is not detected after installation.
Solution: Ensure the module clicks fully into the slot, check that it is on the motherboard compatibility list, and clear the BIOS/UEFI settings to default.
Conclusion
You rarely need to open your PC just to count RAM slots. Task Manager answers the question instantly, while Command Prompt, PowerShell, and CPU-Z add detail about each module. Confirm both the free slot count and the maximum supported capacity before buying an upgrade.
About TechHub
This guide is part of the TechHub Knowledge Base. For more step-by-step IT guides and support, visit techhub.com.lk.