Overview
Physical hardware එකක් නැතුවම ChromeOS try කරන්න පුළුවන් virtual machine එකක් ඇතුළේ ඒක run කරලා. මේ guide එකෙන් VMware හෝ Hyper-V වගේ VM එකකට ChromeOS Flex install කරන ආකාරය පෙන්නනවා — testing, learning හෝ පරණ workflows වලට හොඳ ක්රමයක්.
ChromeOS Flex එකක් virtual machine එකක් ඇතුළේ run කරන්න.
Key Takeaways
- ChromeOS Flex කියන්නේ Google දෙන, VM එකකට install කරන්න පුළුවන් official free version එක.
- ChromeOS Flex USB installer image එක Chromebook Recovery Utility එකෙන් හදන්න.
- VMware Workstation Player හෝ Hyper-V වගේ hypervisor එකක් පාවිච්චි කරන්න පුළුවන්.
- Smooth performance එකට VM එකට enough RAM (4 GB+) සහ 2+ CPU cores දෙන්න.
ඕන දේවල්
- Hypervisor එකක්: VMware Workstation Player (free) හෝ Windows Pro වල Hyper-V.
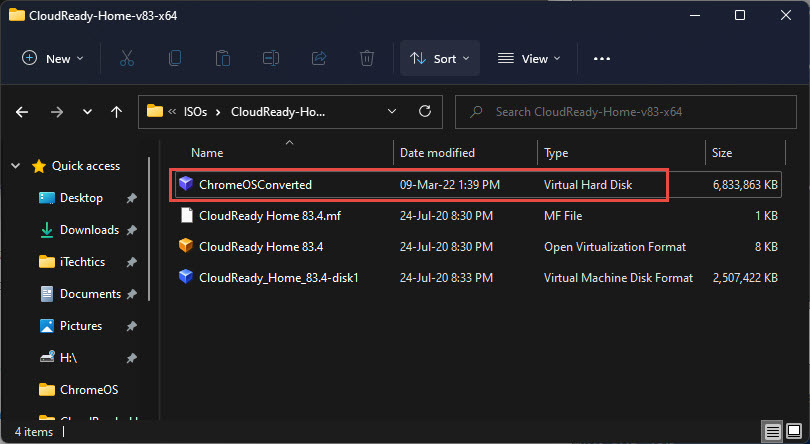
- ChromeOS Flex installer: Chromebook Recovery Utility (Chrome extension) එකෙන් හදපු USB image එකක්, නැත්නම් extract කරගත් image එකක්.
- අඩුම වශයෙන් 4 GB RAM වෙන් කරන්න, 8 GB+ recommended.
ChromeOS Flex කියන්නේ VM එකකට install කරන්න පුළුවන් Google's official build එක.
Step 1 — ChromeOS Flex Image එක ගන්න
1. Chrome එකට Chromebook Recovery Utility extension එක install කරන්න.
2. ඒක open කරලා "ChromeOS Flex" model එක තෝරලා USB installer එකක් හදන්න.
3. ඕන නම්, ඒ USB installer එකෙන් VM එකකට bootable විදිහට පාවිච්චි කරන්න, නැත්නම් disk image එකක් extract කරගන්න.
Step 2 — Virtual Machine එක හදන්න (VMware)
1. VMware Workstation Player open කරලා Create a New Virtual Machine click කරන්න.
2. Guest OS එක "Other" හෝ "Linux" (64-bit) විදිහට තෝරන්න.
3. 2+ CPU cores, 4 GB+ RAM සහ 16 GB+ virtual disk එකක් assign කරන්න.
4. ChromeOS Flex USB/installer එකෙන් boot කරන්න (removable device එකක් attach කරන්න පුළුවන් නම්) නැත්නම් installer image එක attach කරන්න.
Step 3 — Hyper-V පාවිච්චි කරනවා නම්
1. Windows Features එකේ Hyper-V enable කරලා restart කරන්න.
2. Hyper-V Manager එකේ New > Virtual Machine හදන්න.
3. Generation 2 තෝරලා, Secure Boot off කරලා, RAM/CPU assign කරන්න.
4. ChromeOS Flex installer media එකෙන් boot කරන්න.
Step 4 — ChromeOS Flex Install කරන්න
1. VM එක installer එකෙන් boot වුණාම, setup screen එක එනකම් ඉන්න.
2. "Install ChromeOS Flex" තෝරන්න (try-without-installing එක වෙනුවට).
3. On-screen steps follow කරලා, ඉවර වුණාම Google account එකෙන් sign in කරන්න.
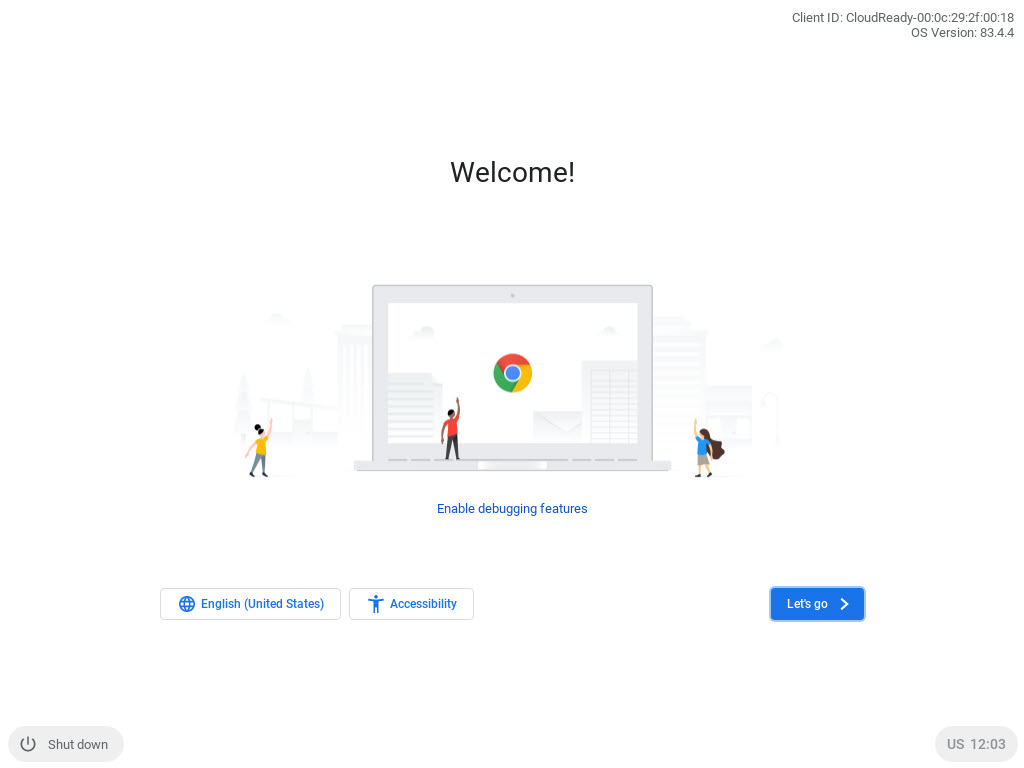
Install වුණාට පස්සේ VM එක ඇතුළේ ChromeOS Flex sign-in එක.
Troubleshooting
Problem: VM එක installer එකෙන් boot වෙන්නේ නෑ.
Solution: Boot order එකේ USB/installer එක ඉස්සරහට දාන්න; Hyper-V Gen 2 වල Secure Boot off කරන්න.
Problem: Graphics/mouse laggy.
Solution: තව RAM/CPU cores දෙන්න, host graphics drivers update කරන්න; ChromeOS Flex VM වල hardware acceleration limited.
Problem: Setup එකේදී network නෑ.
Solution: VM එකේ network adapter එක enabled සහ bridged/NAT කියලා confirm කරන්න, එතකොට Flex වලට internet ලැබෙනවා.
Problem: VMware/Hyper-V වල unsupported message එකක්.
Solution: ChromeOS Flex හැම VM config එකකම officially supported නෑ; guest type එකක් වෙනස් කරලා try කරන්න, නැත්නම් වෙන hypervisor එකක් පාවිච්චි කරන්න.
Conclusion
ChromeOS Flex එකක් VM එකක ඇතුළේ run කරන එකෙන් hardware එකක් නැතුවම ChromeOS explore කරන්න ලැබෙනවා. Flex image එක හදලා, enough resources එක්ක VM එකක් config කරලා, ඇතුළෙන් install කරන්න — Chromebook experience එකට safe, disposable ක්රමයක්.
About TechHub
මේ guide එක TechHub Knowledge Base එකේ කොටසක්. තව step-by-step IT guides සහ support වලට techhub.com.lk එකට යන්න.