Overview
Microsoft offers a free Windows 11 Development Environment — a pre-configured virtual machine with development tools already installed, so you can start coding immediately without setting up a fresh Windows install. It is provided for Hyper-V, VMware, VirtualBox, and Parallels. This guide covers what it includes and how to set it up.
Microsoft’s Windows 11 developer VM comes with dev tools preinstalled.
Key Takeaways
- The VM is a free, time-limited evaluation image refreshed periodically by Microsoft.
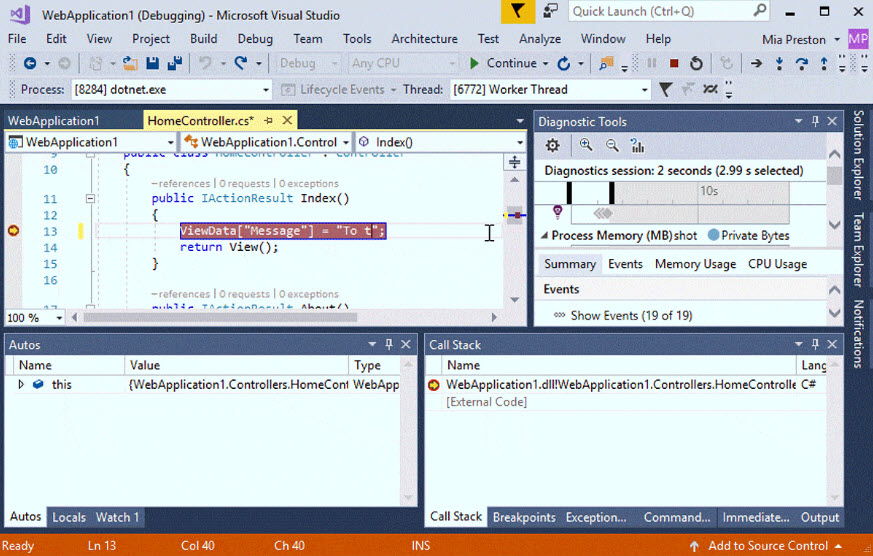
- It comes with Visual Studio, WSL, Windows Terminal, and other developer tools preinstalled.
- Images are available for Hyper-V, VMware, VirtualBox, and Parallels.
- It is ideal for testing and development without touching your main system.
Preinstalled Tools
- Visual Studio (Community) with common workloads.
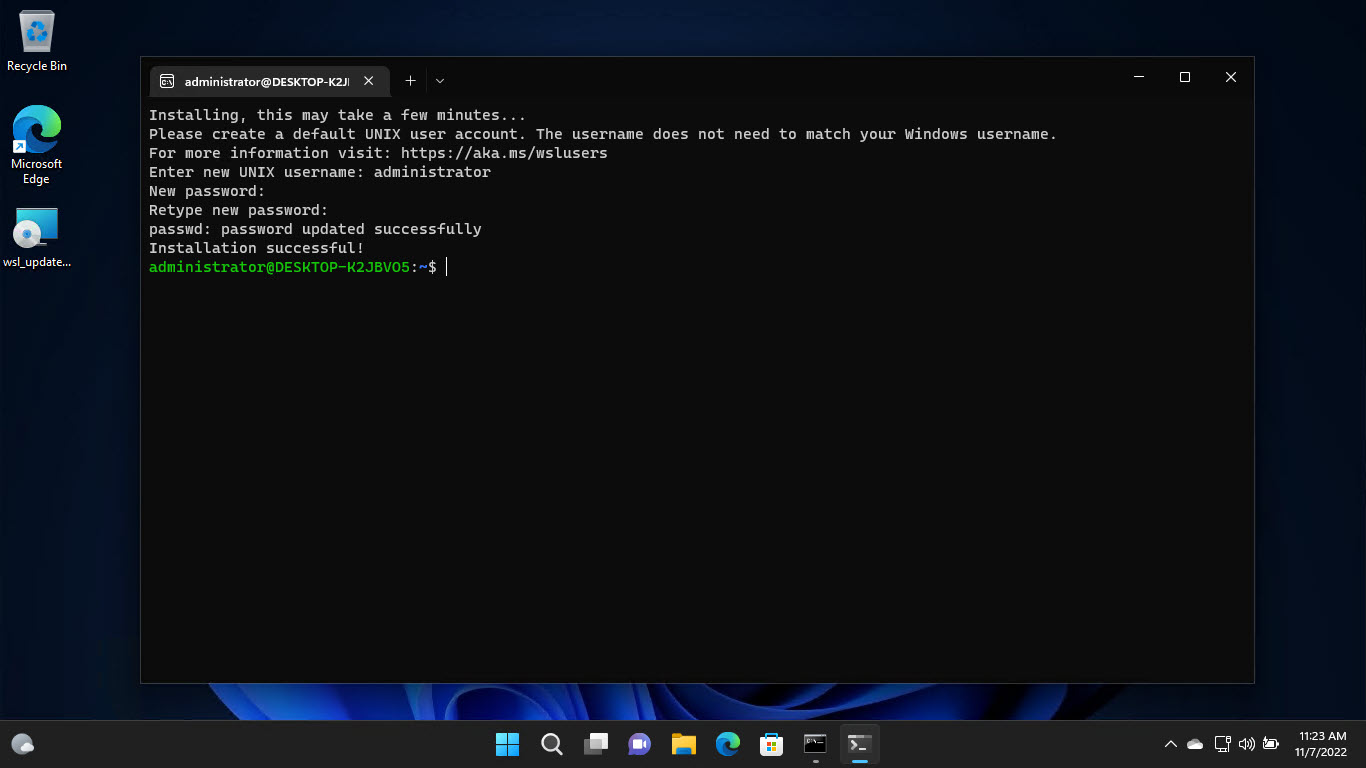
- Windows Subsystem for Linux (WSL) enabled.
- Windows Terminal and developer mode turned on.
- Developer-focused settings configured out of the box.
Requirements
- A host PC with a supported hypervisor (Hyper-V, VMware, VirtualBox, or Parallels).
- Hardware virtualization enabled in the firmware (UEFI/BIOS).
- Sufficient RAM and disk space (the image is large; allow several GB of RAM to the VM).
- The evaluation image is time-limited — re-download when it expires.
How to Download
1. Open Microsoft’s official "Windows 11 development environment" page on the Microsoft Developer site.
2. Choose the image matching your hypervisor (Hyper-V, VMware, VirtualBox, or Parallels).
3. Download the compressed VM image (it is large).
4. Extract the file before importing it.
Warning: Download the VM only from Microsoft’s official developer website.
How to Set It Up (Hyper-V Example)
1. Enable Hyper-V: open Windows Features and tick Hyper-V, then restart.
2. Open Hyper-V Manager and choose Import Virtual Machine.
3. Point it to the extracted VM folder and follow the wizard.
4. Start the VM and sign in to begin developing.
Note: For VMware, VirtualBox, or Parallels, import the matching image using that app’s "Open/Import" option instead.
Troubleshooting
Problem: The VM will not start (virtualization error).
Solution: Enable hardware virtualization (Intel VT-x / AMD-V) in your PC’s UEFI/BIOS, and ensure your hypervisor is installed correctly.
Problem: Hyper-V is not available.
Solution: Hyper-V requires Windows 11 Pro/Enterprise. On Home edition, use VirtualBox or VMware Workstation Player instead.
Problem: The evaluation has expired.
Solution: The image is time-limited. Download the latest monthly image from Microsoft and import it again.
Problem: Performance is poor.
Solution: Allocate more RAM and CPU cores to the VM, and place its virtual disk on an SSD.
Conclusion
The Windows 11 Development Environment VM is the fastest way to get a fully tooled Windows dev setup running in isolation. Download the image for your hypervisor from Microsoft, import it, and start building right away.
</w:pBdr><w:spacing w:before="220" w:after="40"/></w:pPr><w:r><w:rPr><w:b/><w:bCs/><w:color w:val="0B5394"/><w:sz w:val="21"/><w:szCs w:val="21"/><w:rFonts w:ascii="Calibri" w:cs="Calibri" w:eastAsia="Calibri" w:hAnsi="Calibri"/></w:rPr><w:t xml:space="preserve">About TechHub
This guide is part of the TechHub Knowledge Base. For more step-by-step IT guides and support, visit techhub.com.lk.