Overview
Windows Subsystem for Android (WSA) lets you run Android apps directly on Windows without an emulator. It was designed for Windows 11, but can also be installed on Windows 10. This guide covers the prerequisites and the installation steps.
Windows Subsystem for Android runs Android apps natively on Windows.
Warning: Microsoft has officially discontinued Windows Subsystem for Android, with support ending in March 2025. New installs and the Amazon Appstore are no longer officially supported. Treat this as a legacy procedure.
Key Takeaways
- WSA runs Android apps without a separate emulator.
- It requires hardware virtualization and the Virtual Machine Platform feature.
- It was built for Windows 11 but can be ported to Windows 10.
- Microsoft has deprecated WSA, so consider an Android emulator as an alternative going forward.
Prerequisites
- Hardware virtualization enabled in UEFI/BIOS (Intel VT-x or AMD-V).
- The Virtual Machine Platform Windows feature enabled.
- An SSD and at least 8 GB RAM recommended.
- Developer Mode enabled (Settings > Privacy & security > For developers).
Step 1 — Enable the Required Features
1. Press Windows key + R, type optionalfeatures, and press Enter.
2. Tick Virtual Machine Platform (and Windows Hypervisor Platform if prompted).
3. Click OK and restart the PC.
4. Enable Developer Mode in Settings > Privacy & security > For developers.
Step 2 — Install the WSA Package
1. Obtain the WSA package (MSIXBundle) — on Windows 11 it installs from the Microsoft Store; on Windows 10 a downloaded package is used.
2. Open PowerShell as administrator.
3. Install it with: Add-AppxPackage -Path "C:\Path\To\WSA-package.msixbundle"
4. Wait for the installation to finish.
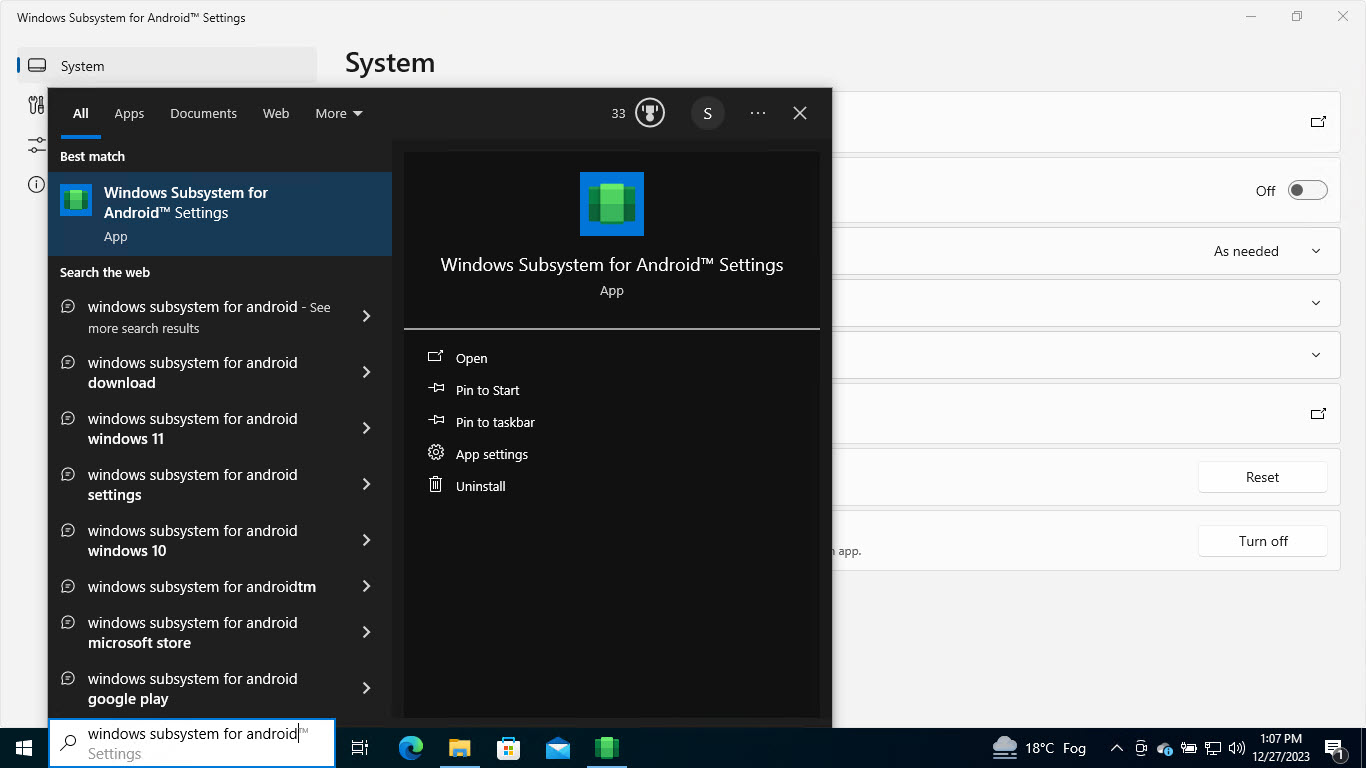
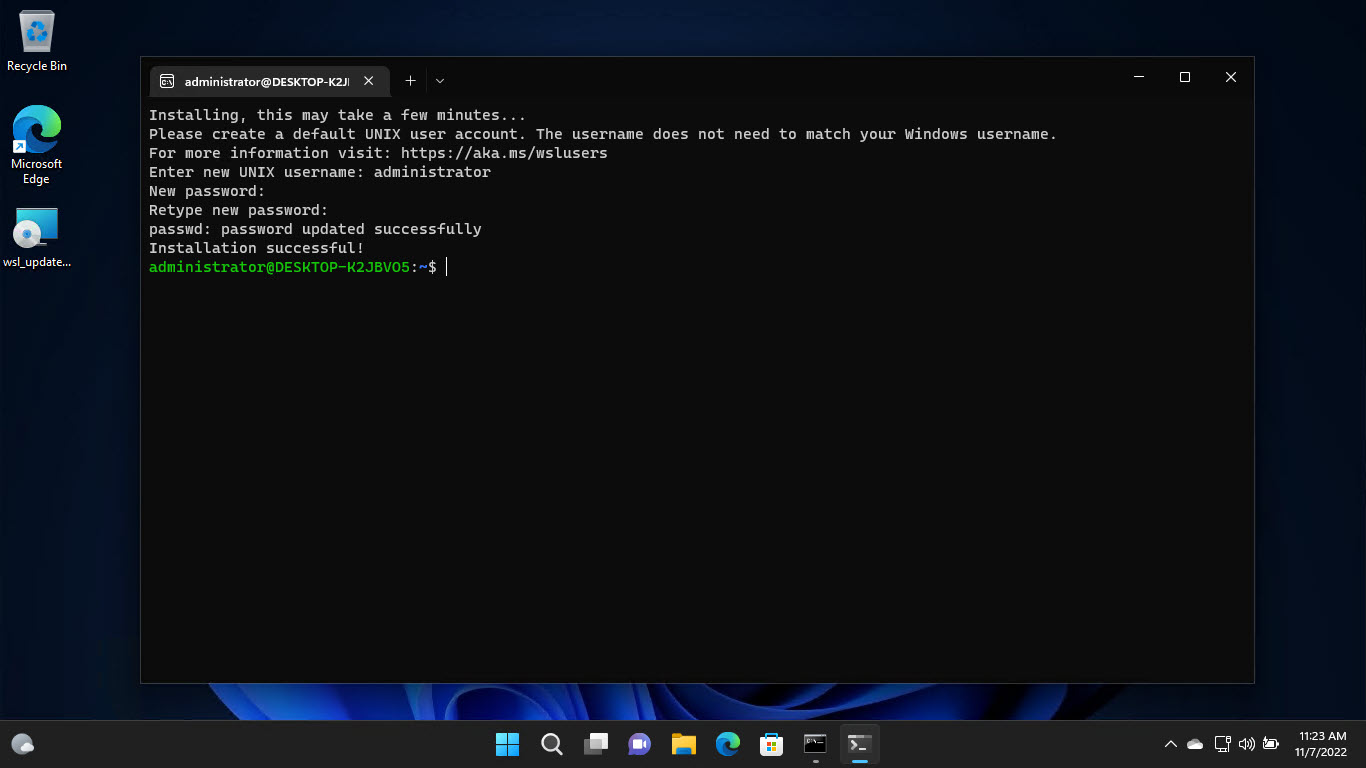
WSA installed successfully.
Step 3 — Launch and Use WSA
1. Open Windows Subsystem for Android from the Start menu.
2. Turn on Developer mode within the WSA settings if you plan to sideload apps.
3. Install Android apps via the supported store or by sideloading APKs with ADB.
Tip: You can sideload an APK using ADB: adb connect 127.0.0.1:58526 then adb install app.apk.
Troubleshooting
Problem: WSA will not start.
Solution: Ensure hardware virtualization is enabled in firmware and the Virtual Machine Platform feature is on, then restart.
Problem: Add-AppxPackage fails.
Solution: Run PowerShell as administrator, enable Developer Mode, and confirm the package path and that all dependencies are installed.
Problem: Android apps are slow.
Solution: Allocate enough RAM, use an SSD, and close other heavy apps; performance depends on virtualization resources.
Problem: It is no longer available.
Solution: WSA has been deprecated by Microsoft. Use a maintained Android emulator if you need to run Android apps going forward.
Conclusion
WSA brought native Android apps to Windows with virtualization and a simple package install. Since Microsoft has discontinued it, keep existing installs as-is and look to an Android emulator for new Android-on-Windows needs.
</w:pBdr><w:spacing w:before="220" w:after="40"/></w:pPr><w:r><w:rPr><w:b/><w:bCs/><w:color w:val="0B5394"/><w:sz w:val="21"/><w:szCs w:val="21"/><w:rFonts w:ascii="Calibri" w:cs="Calibri" w:eastAsia="Calibri" w:hAnsi="Calibri"/></w:rPr><w:t xml:space="preserve">About TechHub
This guide is part of the TechHub Knowledge Base. For more step-by-step IT guides and support, visit techhub.com.lk.