Overview
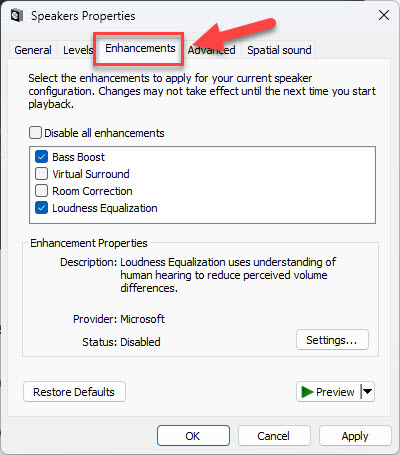
Playback device එකක properties වල Enhancements tab එකෙන් bass boost, virtual surround, සහ loudness equalization වගේ audio effects වලට access දෙනවා. ඒක නැති නම්, බොහෝ විට ඒකෙන් අදහස් වෙන්නේ ඔයාගේ දැනට තියෙන audio driver එක ඒක expose කරන්නේ නැහැ කියන එකයි. මේ guide එකෙන් ඒක නැති වෙන්නේ ඇයි කියලා සහ ඒක ආපහු ගේන හැටි කියලා දෙනවා.
Key Takeaways
- Enhancements tab එක පාවිච්චි කරන audio driver එක මත රඳා පවතිනවා.
- සමහර third-party drivers (උදා. සමහර Realtek versions) ඒක hide කරනවා හෝ replace කරනවා.
- Generic Microsoft audio driver එකට මාරු වුණාම බොහෝ විට tab එක restore වෙනවා.
- Audio driver එක reinstall කරන එකෙන් හෝ update කරන එකෙනුත් ඒක ආපහු ගේන්න පුළුවන්.
Enhancements Tab එක නැති වෙන්නේ ඇයි?
Tab එක ලබා දෙන්නේ audio driver එකෙන්. Manufacturer driver එකක් (සමහර Realtek packages වගේ) install කරලා තියෙනවා නම්, ඒක standard Enhancements tab එක වෙනුවට ඒකේම audio console එකක් පාවිච්චි කරන්න පුළුවන්. Microsoft High Definition Audio driver එකට ආපහු මාරු වුණාම සාමාන්යයෙන් හුරුපුරුදු tab එක restore වෙනවා.
Fix 1 — Microsoft Audio Driver එකට Switch කරන එක
1. Start එක right-click කරලා Device Manager open කරන්න.
2. Sound, video and game controllers expand කරන්න.
3. ඔයාගේ audio device එක (උදා. Realtek) right-click කරලා Update driver තෝරන්න.
4. Browse my computer > Let me pick from a list තෝරන්න.
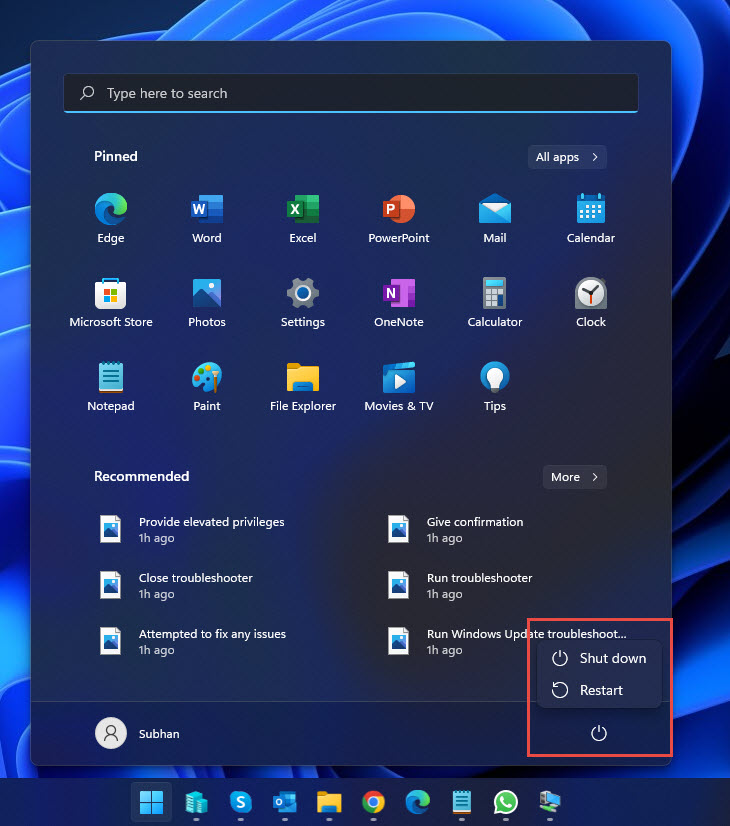
5. High Definition Audio Device (Microsoft driver එක) තෝරලා Next click කරලා, restart කරන්න.
Microsoft audio driver එකට මාරු වුණාම Enhancements tab එක restore වෙනවා.
Fix 2 — Audio Troubleshooter එක Run කරන එක
1. Settings > System > Troubleshoot > Other troubleshooters open කරන්න.
2. Playing Audio troubleshooter එක run කරන්න.
3. Recommend කරන fixes apply කරලා Sound device properties ආපහු check කරන්න.
Fix 3 — Audio Driver එක Reinstall කරන එක
1. Device Manager එකේ, ඔයාගේ audio device එක right-click කරලා Uninstall device තෝරන්න.
2. පෙන්නනවා නම් "Delete the driver software for this device" tick කරලා, confirm කරන්න.
3. PC එක restart කරන්න — Windows එකෙන් default audio driver එකක් reinstall කරනවා.
4. Enhancements tab එක check කරන්න playback device Properties open කරන්න.
Note: Drivers මාරු කරාට පස්සේ, Settings > Sound > device properties (හෝ classic Sound window එක) open කරලා playback device එකේ Properties වල Enhancements tab එක check කරන්න.
Troubleshooting
Problem: Drivers මාරු කරාට පස්සෙත් tab එක තාම නැහැ.
Solution: සමහර systems effects වලට Enhancements tab එක වෙනුවට වෙනම audio app එකක් (උදා. Realtek Audio Console) පාවිච්චි කරනවා. ඒ app එක පාවිච්චි කරන්න, නැත්නම් restart එකකට පස්සේ Microsoft driver එක ආපහු try කරන්න.
Problem: Microsoft driver එකට මාරු වුණාම sound quality එක අඩු වෙනවා.
Solution: ඒකේ features කැමති නම් manufacturer driver එක reinstall කරන්න, effects තියෙන්නේ Enhancements tab එකේ නෙවෙයි ඒකේම console එකේ කියලා පිළිගෙන.
Problem: Drivers වෙනස් කරාට පස්සේ audio නැහැ.
Solution: Sound settings වල නිවැරදි Output device එක set කරන්න, ඕන නම් driver එක reinstall කරන්න.
Problem: Enhancements නිසා audio problems එනවා.
Solution: Effects distortion එකක් ඇති කරනවා නම් tab එකේ තියෙන individual enhancements disable කරන්න පුළුවන්, නැත්නම් "Disable all enhancements" tick කරන්න පුළුවන්.
Conclusion
නැති වෙච්ච Enhancements tab එකක් බොහෝ විටම driver එකේ කරුණක්. Microsoft High Definition Audio driver එකට මාරු වුණාම සාමාන්යයෙන් ඒක කෙලින්ම ආපහු ගේනවා, Windows එකේ built-in audio effects වලට ආපහු access දෙනවා.
About TechHub
මේ guide එක TechHub Knowledge Base එකේ කොටසක්. තව step-by-step IT guides සහ support වලට techhub.com.lk එකට යන්න.