Overview
Desktop එකකට හෝ laptop එකකට memory add කරන්න කලින්, motherboard එකේ RAM slots කීයක් තියෙනවද සහ දැනටමත් කීයක් පාවිච්චි වෙලාද කියලා ඔයා දැනගන්න ඕන. Task Manager, Command Prompt, සහ PowerShell වගේ built-in tools පාවිච්චි කරලා, case එක open නොකර, Windows එකෙන් මේක report කරන්න පුළුවන්. මේ guide එකෙන් ඉක්මන්ම software methods සහ physical check එකක් තාමත් වටින්නේ කවදද කියලා cover කරනවා.
Key Takeaways
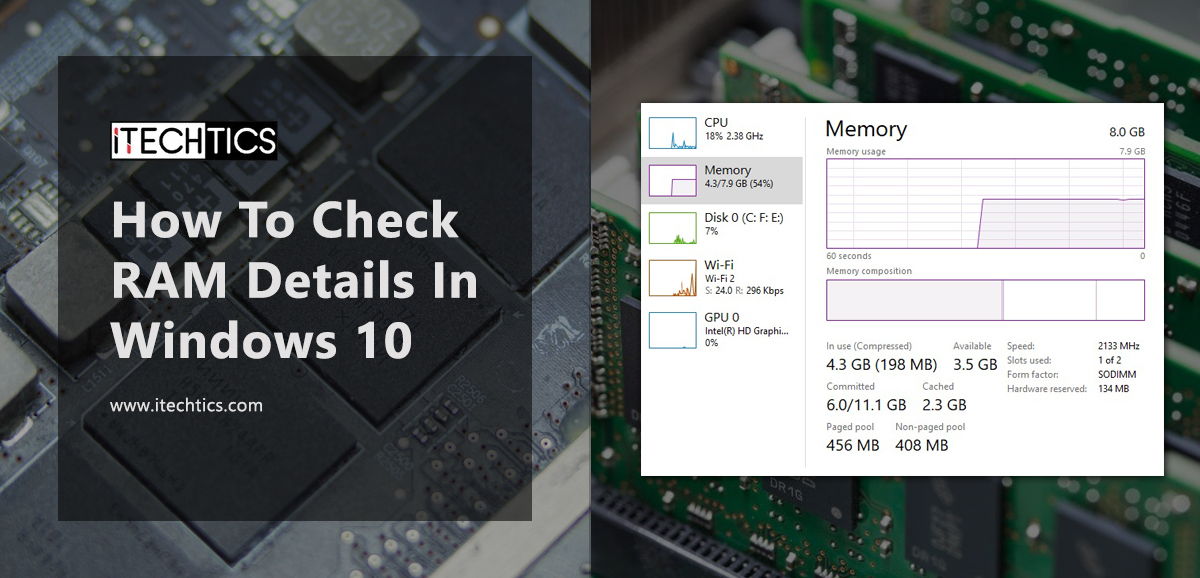
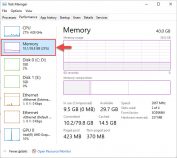
- Task Manager එකේ Memory page එකේ used සහ total slots තත්පර කිහිපයකින් පෙන්නනවා.
- Command Prompt සහ PowerShell වලින් command එකකින් නිශ්චිත slot count එක report කරන්න පුළුවන්.
- CPU-Z වගේ free tools වලින් install කරලා තියෙන හැම module එකක් ගැනම detailed information දෙනවා.
- Slot condition එකයි module orientation එකයි confirm කරන්න පුළුවන් එකම විදිහ physical inspection එකයි.
Method 1: Check RAM Slots in Task Manager
1. Task Manager එක open කරන්න Ctrl + Shift + Esc press කරන්න.
2. Performance tab එක open කරලා, වම් තීරුවේ Memory select කරන්න.
3. "Slots used" figure එක බලන්න — total available එකෙන් used slots කීයද කියලා පෙන්නනවා, උදාහරණයකට 4න් 2ක්.
Task Manager එකෙන් Memory page එකේ used සහ total memory slots report කරනවා.
Method 2: Check RAM Slots with Command Prompt
1. Command Prompt එක administrator විදිහට open කරන්න.
2. Run: wmic memphysical get MaxCapacity, MemoryDevices — MemoryDevices value එක තමයි slots වල මුළු ගණන.
3. Run: wmic memorychip get DeviceLocator, Capacity — populate වෙච්ච හැම slot එකක්ම සහ එකේ module size එක list කරන්න.
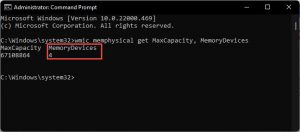
wmic එකෙන් return කරන MemoryDevices value එකෙන් total slot count එක පෙන්නනවා.
Method 3: Check RAM Slots with PowerShell
1. Windows PowerShell එක open කරන්න.
2. Total slot count එකට Run: Get-WmiObject Win32_PhysicalMemoryArray | Select-Object MemoryDevices.
3. මොන slots populate වෙලාද කියලා බලන්න Run: Get-WmiObject Win32_PhysicalMemory | Select-Object DeviceLocator, Capacity.
NOTE: wmic command එක අලුත්ම Windows builds වල deprecated. එය available නැත්නම්, උඩ තියෙන PowerShell commands use කරන්න, ඒවා එකම information එක return කරනවා.
Method 4: Use CPU-Z or a Physical Check
1. Official CPUID website එකෙන් CPU-Z download කරලා install කරන්න.
2. SPD tab එක open කරලා, හැම memory slot එකක්ම සහ එකේ install කරලා තියෙන module එක inspect කරන්න slot selector එක use කරන්න.
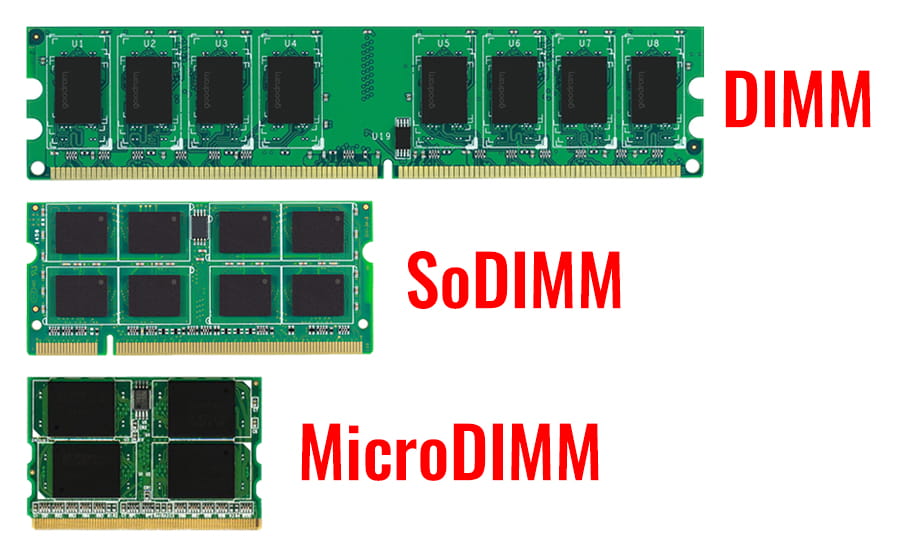
3. Physical check එකකට, සම්පූර්ණයෙන් power down කරලා, unplug කරලා, case එක හෝ laptop panel එක open කරලා, හිස් සහ occupied slots දෘශ්යමානව confirm කරන්න.
WARNING: Computer එකක් open කරන්න කලින් හැම විටම shut down කරලා power disconnect කරන්න, internal components ස්පර්ශ කරන්න කලින් static electricity discharge කරන්න.
Troubleshooting
Problem: Task Manager එකේ "Slots used" line එක පෙන්නන්නේ නෑ.
Solution: සමහර systems, විශේෂයෙන් soldered memory තියෙන laptops, slot data expose කරන්නේ නෑ. ඒ වෙනුවට CPU-Z හෝ ඔයාගේ device specifications use කරන්න.
Problem: wmic එක command එකක් විදිහට recognize වෙන්නේ නෑ.
Solution: WMIC feature එක මෑත Windows versions වල retire කරලා. අදාළ Get-WmiObject හෝ Get-CimInstance PowerShell commands use කරන්න.
Problem: Report කරන total capacity එක ඔයා install කරපු memory එකට වඩා අඩුයි.
Solution: Module එකක් හරියට seat වෙලා නැතුව හෝ unsupported වෙන්න පුළුවන්. එය reseat කරලා, motherboard specification එකට match වෙනවද කියලා confirm කරලා, ඕන නම් BIOS එක update කරන්න.
Problem: Install කරාට පස්සේ අලුත් RAM detect වෙන්නේ නෑ.
Solution: Module එක slot එකට සම්පූර්ණයෙන් click වෙනවා කියලා තහවුරු කරගන්න, එය motherboard compatibility list එකේ තියෙනවද කියලා check කරන්න, BIOS/UEFI settings default එකට clear කරන්න.
Conclusion
RAM slots ගණන් කරන්න විතරක් ඔයා PC එක open කරන්න ඕන වෙන්නේ කලාතුරකින්. Task Manager එකෙන් වහාම ප්රශ්නෙට උත්තර දෙනවා, Command Prompt, PowerShell, සහ CPU-Z වලින් හැම module එකක් ගැනම detail එකතු කරනවා. Upgrade එකක් ගන්න කලින් free slot count එකයි maximum supported capacity එකයි දෙකම confirm කරන්න.
About TechHub
මේ guide එක TechHub Knowledge Base එකේ කොටසක්. තව step-by-step IT guides සහ support වලට techhub.com.lk එකට යන්න.