Windows 11 Hardening Guide: ඔබේ PC එකේ Security එක ශක්තිමත් කරගන්න
Windows 11 එකේ attack surface එක අඩු කරගන්න practical steps — passwords, encryption, firewall, සහ තවත් දේවල්.
Overview
Hardening කියන්නේ Windows 11 එක configure කරලා එකේ attack surface එක අඩු කරලා compromise වීමට ඔරොත්තු දෙන විදිහට හදන එකයි. මේ guide එකෙන් strong authentication සිට encryption, firewall, සහ permissions දක්වා practical, high-impact steps ආවරණය කරනවා.
වඩා හොඳ security එකකට Windows 11 hardening කිරීම.
Key Takeaways
- Strong passwords/passphrases සහ password manager එකක් පාවිච්චි කරන්න.
- BitLocker encryption සහ firewall එක enable කරන්න.
- Windows එක updated තියාගන්න සහ remote access එක සීමා කරන්න.
- UAC, app permissions, සහ Memory Integrity තදින් tighten කරන්න.
1. Strong Authentication
1. හැම account එකකටම long, unique password/passphrase එකක් set කරන්න.
2. හොඳ reputation එකක් තියෙන password manager එකක් පාවිච්චි කරන්න.
3. තියෙන තැන Windows Hello (PIN/biometrics) enable කරන්න.
4. Automatic login එක disable කරන්න (netplwiz run කරලා password එකක් require කරන්න).
2. Enable Encryption and Firewall
1. BitLocker එක on කරන්න (Settings > Privacy & security > Device encryption / BitLocker) සහ recovery key එක back up කරන්න.
2. සියලුම network profiles වලට Windows Defender Firewall එක on බව සහතික කරගන්න.
3. Limit Remote Access and Ports
1. Remote Desktop පාවිච්චි නොකරනවා නම් එක disable කරන්න (Settings > System > Remote Desktop).
2. අවශ්ය නැති listening services සහ ports close/disable කරන්න.
3. ඇත්තටම අවශ්ය remote features විතරක් enable කරන්න.
4. Keep Windows and Apps Updated
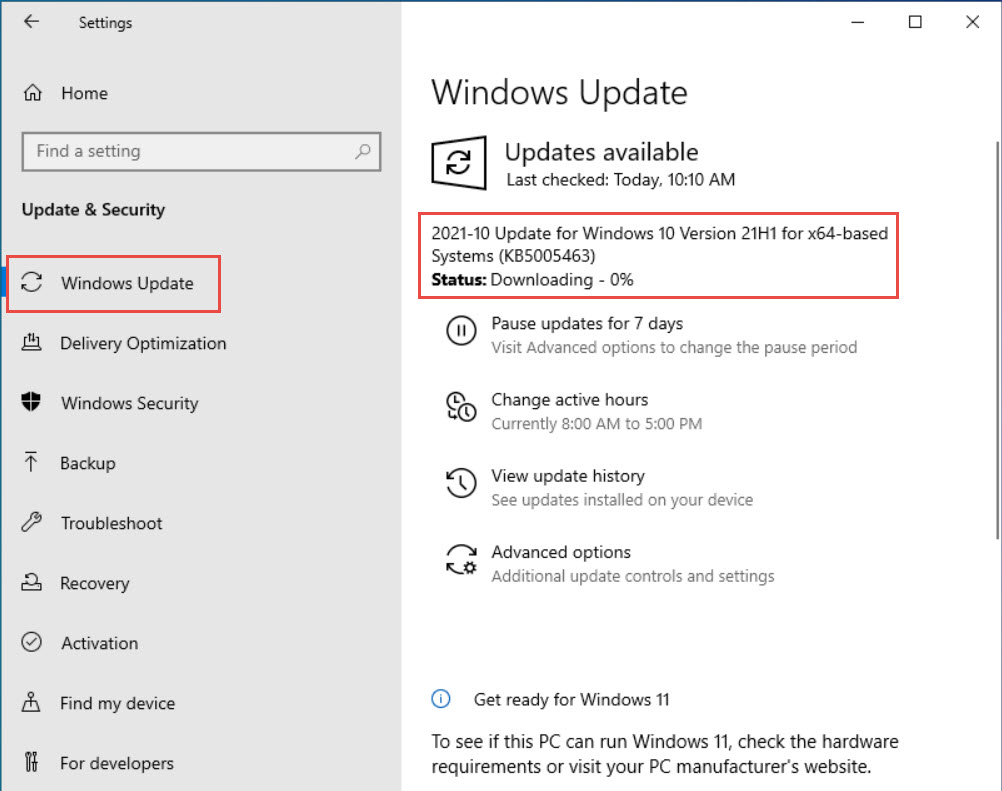
1. Windows updates වහාම install කරන්න (Settings > Windows Update).
2. Apps සහ drivers official sources වලින් update කරන්න.
3. පුළුවන් තැන automatic updates enable කරන්න.
5. Tighten UAC, Permissions, and Memory Integrity
1. User Account Control එක higher notification level එකකට set කරන්න.
2. App permissions (camera, mic, location) review කරලා අවශ්ය නැති ඒවා revoke කරන්න.
3. Windows Security > Device security යටතේ Memory Integrity (Core Isolation) enable කරන්න.
4. Advanced, policy-based hardening එකකට Microsoft ගේ Security Baseline එක consider කරන්න.
Troubleshooting
Problem: Memory Integrity enable වෙන්නේ නෑ.
Solution: Incompatible driver එකක් එක block කරනවා — flag කරපු driver එක update/remove කරලා ඊට පස්සේ enable කරන්න.
Problem: BitLocker unavailable.
Solution: TPM එක enabled බවත් ඔබ supported edition එකක ඉන්නවා බවත් සහතික කරගන්න; Home එකේ Device Encryption එක equivalent එක වෙන්න පුළුවන්.
Problem: Security Baseline එකෙන් app එකක් break වෙනවා.
Solution: Baselines ගොඩක් strict — මුලින්ම lab එකක test කරලා conflict වෙන specific policies adjust කරන්න.
Problem: Hardening කරාට පස්සේ locked out වුණා.
Solution: Recovery keys සහ admin account එකක් තියාගන්න; lockout එකට හේතු වුණු specific change එක revert කරන්න.
Conclusion
Windows 11 hardening එක layered එකක්: strong authentication, encryption, active firewall එකක්, වහාම updates, අවම remote access, සහ tightened UAC/permissions/Memory Integrity. මේ steps apply කරන්න, recovery keys safe තියාගන්න, සහ wide rollout එකකට කලින් advanced baselines test කරන්න.
About TechHub
මේ guide එක TechHub Knowledge Base එකේ කොටසක්. තව step-by-step IT guides සහ support වලට techhub.com.lk එකට යන්න.