Overview
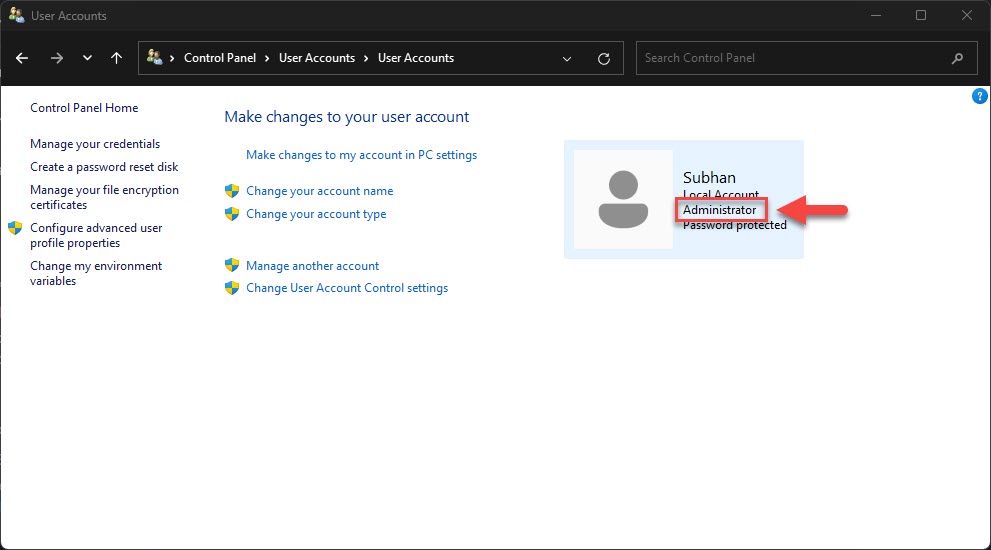
Members of the local Administrators group have elevated rights — they can install software, change system settings, and manage other accounts. This guide shows four ways to add a user to the Administrators group in Windows, from the Settings app to PowerShell.
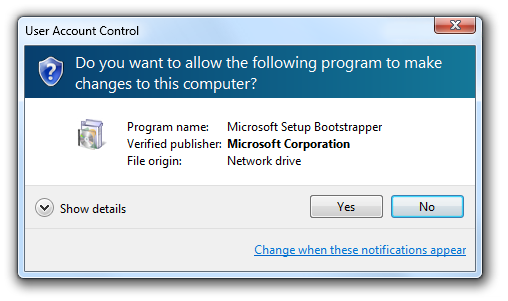
Adding a user to the Administrators group grants full elevated rights.
Key Takeaways
- Administrators can install apps and change any system setting.
- The Settings app is the easiest way: change the account type to Administrator.
- Command Prompt and PowerShell let you do it with a single command.
- Grant admin rights sparingly — keep everyday accounts as Standard users for security.
Warning: Only grant administrator rights to accounts you trust. Standard accounts are safer for everyday use because they limit what malware can change.
Method 1 — Settings App
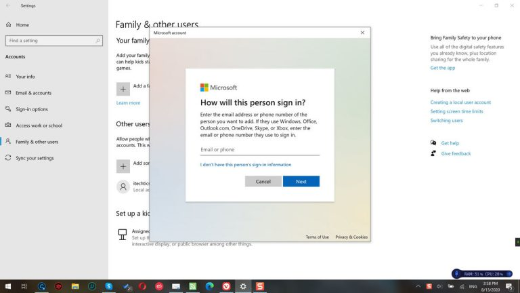
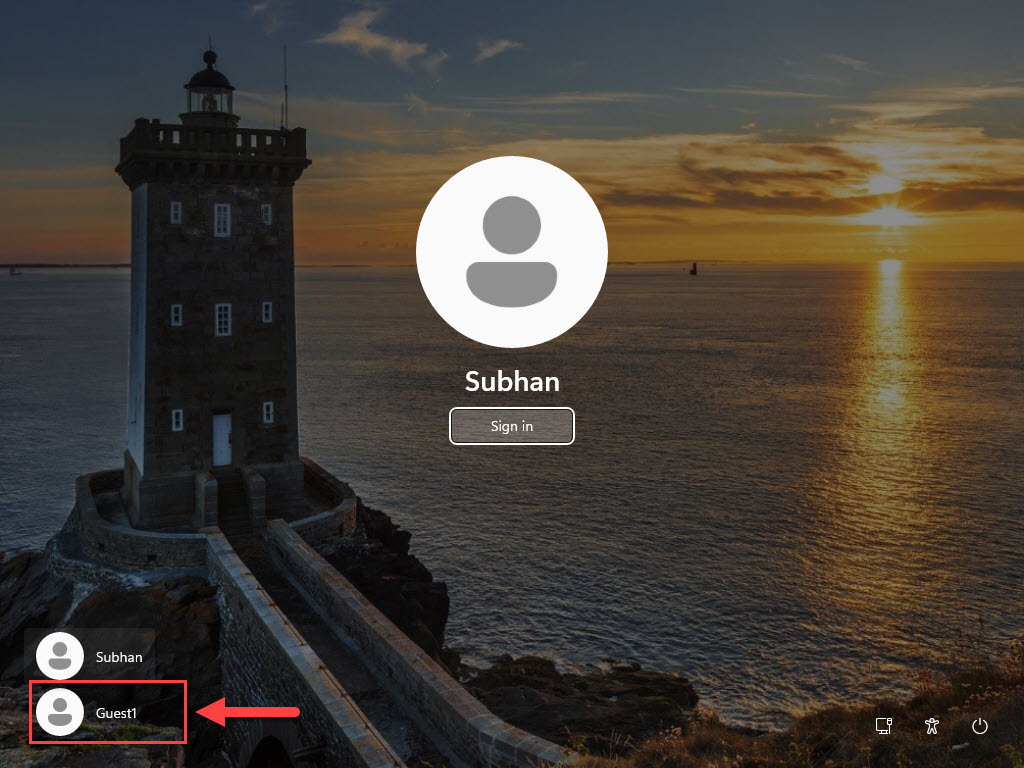
1. Open Settings > Accounts > Other users.
2. Select the account and click Change account type.
3. Choose Administrator from the drop-down and click OK.
Method 2 — Computer Management (Local Users and Groups)
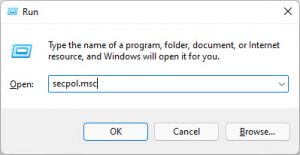
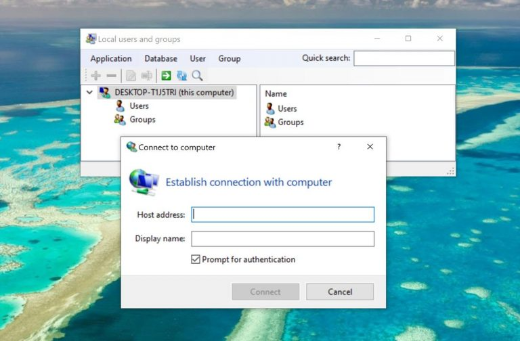
1. Press Windows key + R, type lusrmgr.msc, and press Enter (Pro/Enterprise editions).
2. Open Groups and double-click Administrators.
3. Click Add, type the user name, click Check Names, then OK.
Method 3 — Command Prompt
1. Press Windows key + R, type cmd, and press Ctrl + Shift + Enter for an elevated prompt.
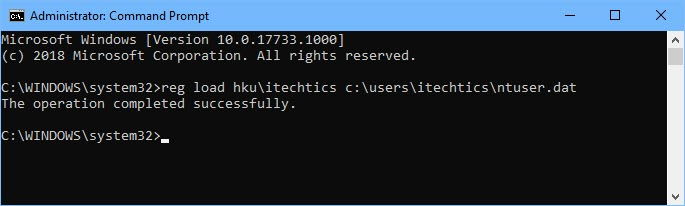
2. Run: net localgroup administrators "USERNAME" /add
3. Replace USERNAME with the account name. To remove later, use /delete instead of /add.
Method 4 — PowerShell
1. Right-click Start and open Windows PowerShell (Admin).
2. Run: Add-LocalGroupMember -Group "Administrators" -Member "USERNAME"
3. Verify with: Get-LocalGroupMember -Group "Administrators"
Troubleshooting
Problem: "Access denied" when running the command.
Solution: Open Command Prompt or PowerShell as administrator (Ctrl + Shift + Enter) — modifying group membership requires elevation.
Problem: The user name is not found.
Solution: Use the exact local account name (run net user to list accounts), or DOMAIN\user for domain accounts.
Problem: Change account type is greyed out.
Solution: You must be signed in as an administrator to change another account’s type.
Problem: You want to revoke admin rights.
Solution: Change the type back to Standard user in Settings, or run net localgroup administrators "USERNAME" /delete.
Conclusion
Adding a user to the Administrators group is quick in Settings or with a single command. Grant these rights only when needed, and keep everyday accounts as Standard users to stay secure.
</w:pBdr><w:spacing w:before="220" w:after="40"/></w:pPr><w:r><w:rPr><w:b/><w:bCs/><w:color w:val="0B5394"/><w:sz w:val="21"/><w:szCs w:val="21"/><w:rFonts w:ascii="Calibri" w:cs="Calibri" w:eastAsia="Calibri" w:hAnsi="Calibri"/></w:rPr><w:t xml:space="preserve">About TechHub
This guide is part of the TechHub Knowledge Base. For more step-by-step IT guides and support, visit techhub.com.lk.