Overview
Windows can mount ISO images natively via the right-click "Mount" command. If that option disappears — usually because another app hijacked the .iso association — you can restore it by resetting the file association, often through the Registry. This guide shows how.
Restore the missing Mount option for ISO files.
Key Takeaways
- The Mount option vanishes when a third-party app takes over the .iso association.
- Setting Windows Explorer as the default ISO handler restores it.
- A quick Registry fix re-associates .iso with Windows Disc Image Burner.
- Back up the Registry before editing.
Why the Mount Option Goes Missing
Apps such as archivers or virtual-drive tools (7-Zip, WinRAR, PowerISO, etc.) sometimes set themselves as the default program for .iso files. When that happens, Windows replaces its built-in Mount command with the third-party app’s menu.
Quick Fix: Set Explorer as the Default
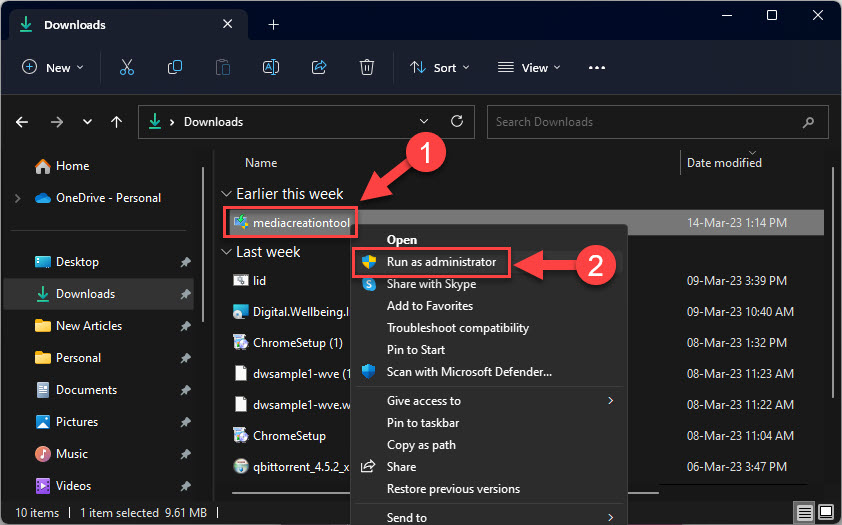
1. Right-click any .iso file and choose Open with > Choose another app.
2. Select Windows Explorer.
3. Tick "Always use this app to open .iso files" and click OK.
4. Right-click the ISO again — the Mount option should reappear.
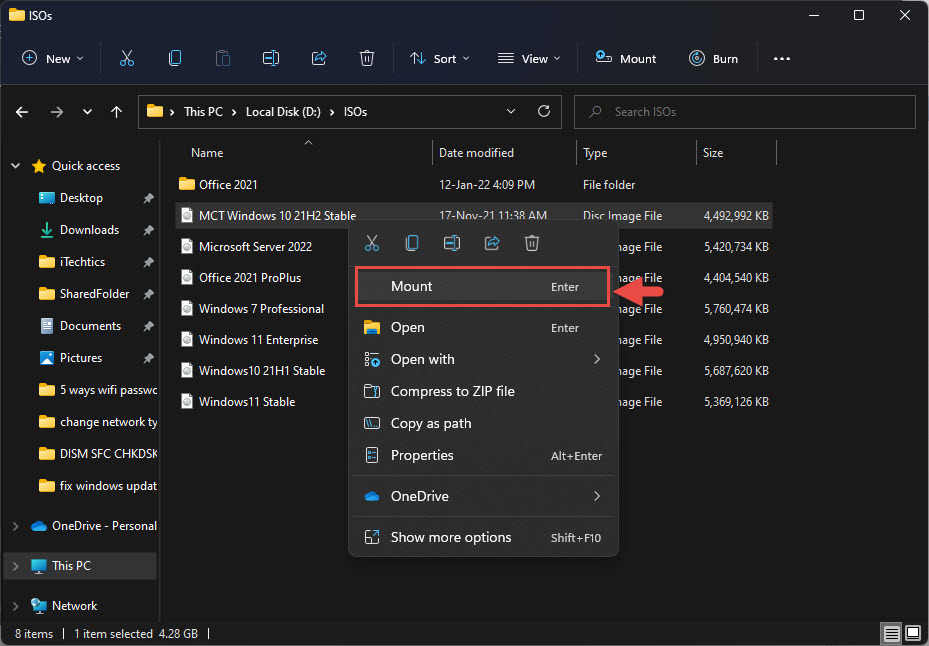
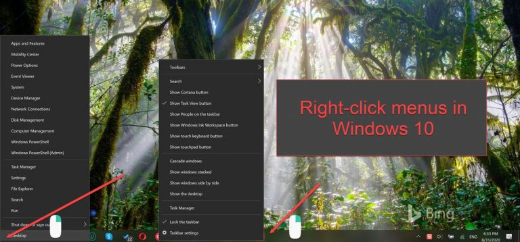
The Mount option in the right-click context menu.
Fix via the Registry
Warning: Editing the Registry incorrectly can cause problems. Back up the Registry (File > Export) before making changes.
1. Press Windows + R, type regedit, and press Enter.
2. Navigate to HKEY_CLASSES_ROOT\.iso
3. Set the (Default) value to: Windows.IsoFile
4. Confirm the Windows.IsoFile key exists with the mount shell command; if missing, recreate it or re-run the Open with step above.
5. Close the Registry Editor and restart File Explorer.
Restoring the Mount command via the Registry.
Troubleshooting
Problem: Mount still missing after changing the association.
Solution: Restart Explorer (or sign out/in). Ensure no third-party app reset itself as the default in the meantime.
Problem: Mount is greyed out.
Solution: The ISO may be on a network/compressed location — copy it to a local NTFS drive and try again.
Problem: "Couldn’t mount file" error.
Solution: The ISO may be corrupt or sparse — re-download it, or confirm it’s a valid disc image.
Problem: A third-party app keeps taking over.
Solution: Set its options to not associate with .iso, then re-apply Windows Explorer as the default.
Conclusion
The Mount option disappears when another program claims the .iso association. Reset .iso to Windows Explorer (or fix the association in the Registry) and the native Mount command returns — no extra software needed.
</w:pBdr><w:spacing w:before="220" w:after="40"/></w:pPr><w:r><w:rPr><w:b/><w:bCs/><w:color w:val="0B5394"/><w:sz w:val="21"/><w:szCs w:val="21"/><w:rFonts w:ascii="Calibri" w:cs="Calibri" w:eastAsia="Calibri" w:hAnsi="Calibri"/></w:rPr><w:t xml:space="preserve">About TechHub
This guide is part of the TechHub Knowledge Base. For more step-by-step IT guides and support, visit techhub.com.lk.