Overview
Internet Information Services (IIS) is Microsoft's flexible web server built into Windows. Developers and administrators use it to host websites, web applications, and services on Windows. IIS is not installed by default, but you can enable it through Windows optional features. This guide covers installing IIS and verifying that it is running.
Key Takeaways
- IIS is a built-in Windows web server enabled through Turn Windows features on or off.
- It supports HTTP, HTTPS, and can host static and dynamic web content.
- After installation you can manage sites through the IIS Manager console.
- You can verify the installation by browsing to http://localhost.
What Is Internet Information Services?
IIS is a modular web server that serves web pages and applications to browsers over HTTP and HTTPS. It integrates with the .NET framework and other Microsoft technologies and is widely used for development, internal tools, and production hosting on Windows Server. On desktop editions it is handy for local testing and learning.
How to Enable IIS on Windows
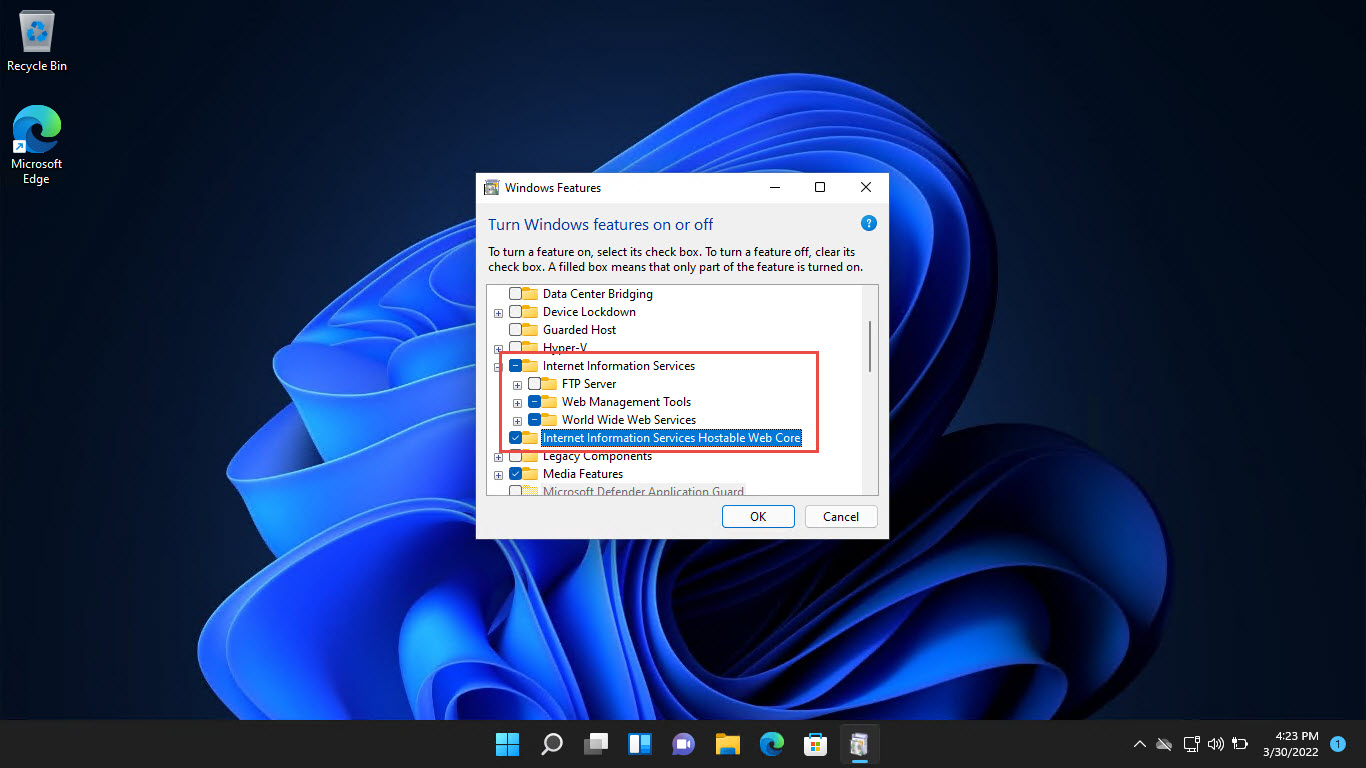
1. Press Windows + R, type optionalfeatures, and press Enter to open Windows Features.
2. In the list, tick the box next to Internet Information Services.
3. Expand the entry to select additional components you need, such as Web Management Tools and World Wide Web Services.
4. Click OK and let Windows install the selected features.
5. When installation completes, restart the computer if prompted.
Enabling IIS in Windows optional features.
Note: For basic web hosting, the default selections are enough. Add features like ASP.NET, CGI, or FTP only if your application requires them.
How to Check if IIS Is Installed
The simplest test is to open a browser and go to http://localhost. If IIS is running, you will see the default IIS welcome page.
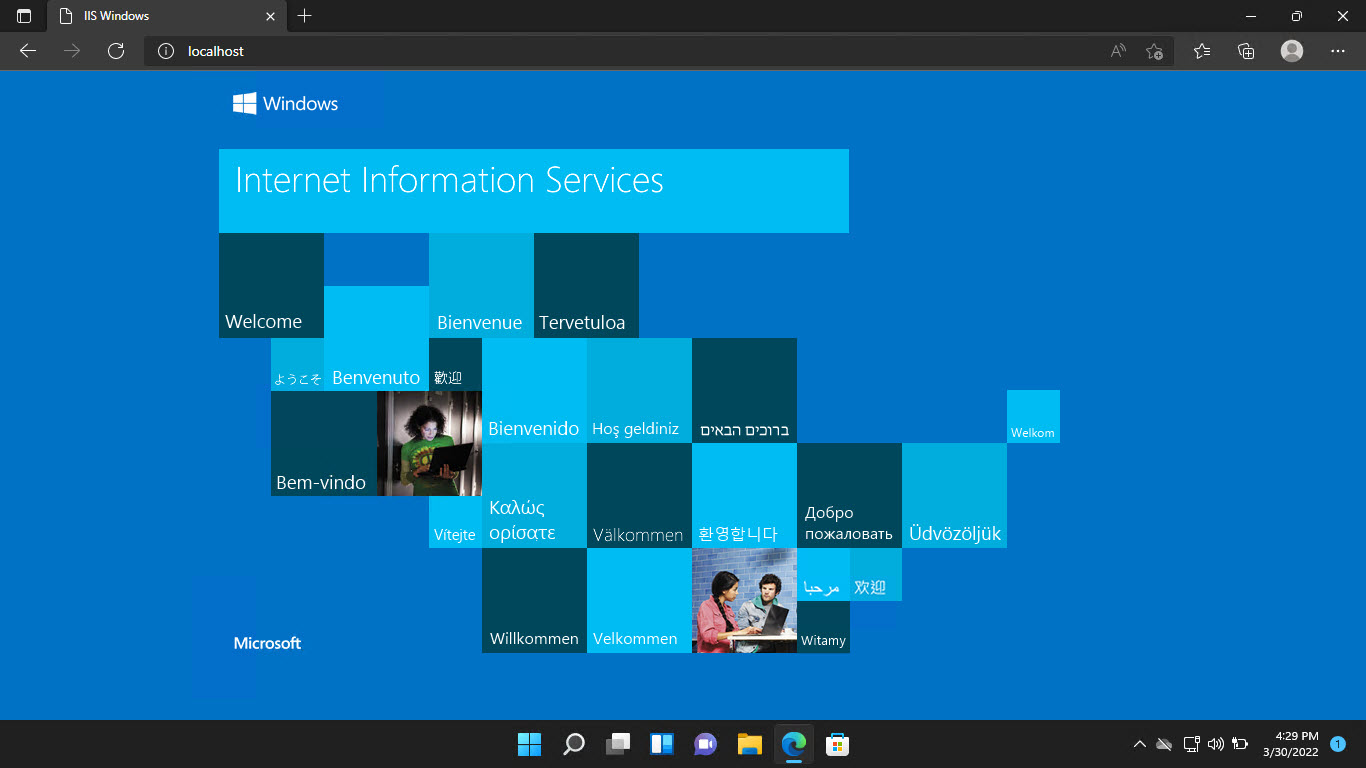
The default IIS welcome page confirms installation.
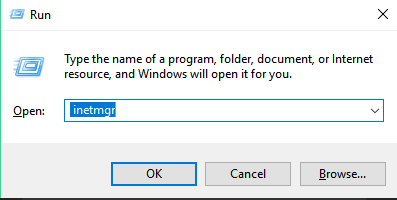
Open IIS Manager
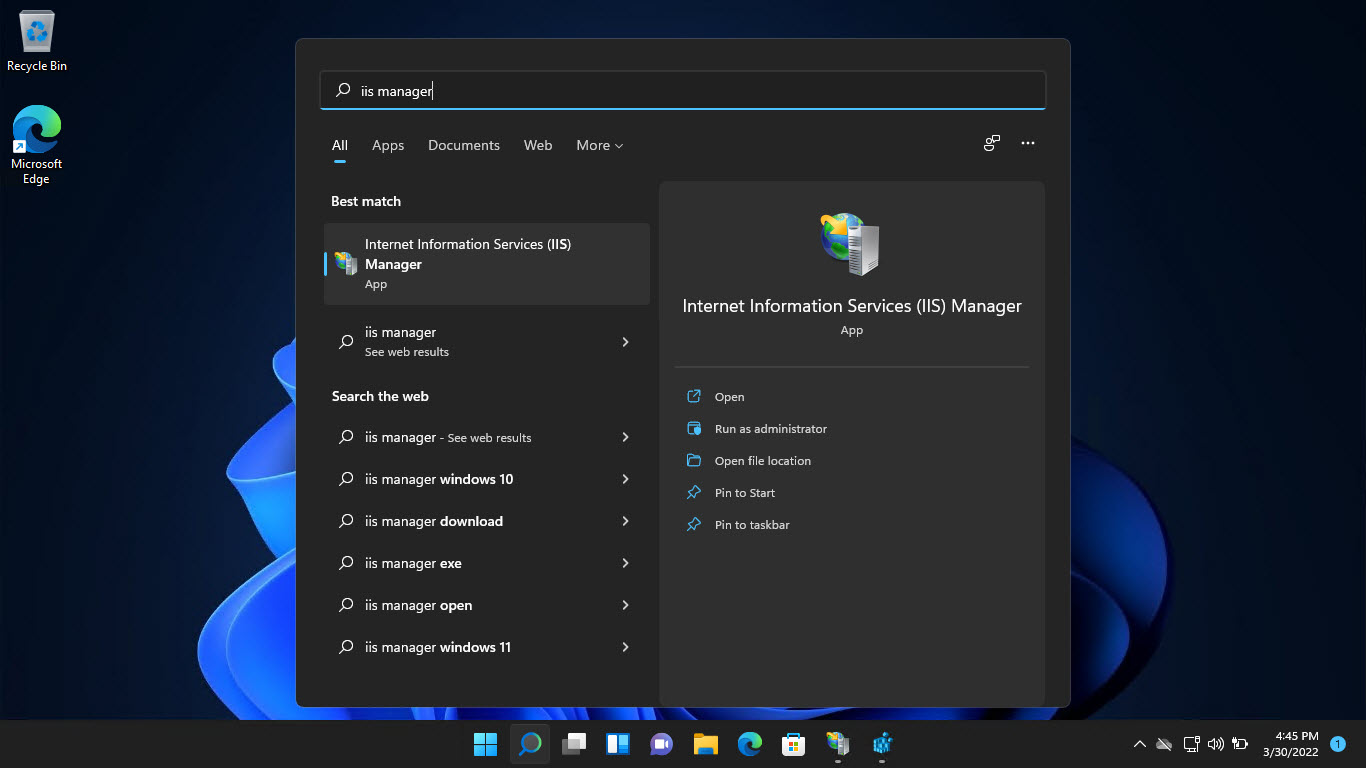
1. Click Start, type "IIS", and open Internet Information Services (IIS) Manager.
2. The manager lists your server, application pools, and sites in the left pane.
3. From here you can add new sites, bind ports, and configure settings.
The IIS Manager console.
How to Check the IIS Version
You can confirm which version of IIS you are running in a few ways.
1. In IIS Manager, click Help > About Internet Information Services to see the version.
2. Alternatively, open the Registry Editor and browse to HKEY_LOCAL_MACHINE\SOFTWARE\Microsoft\InetStp to read the VersionString value.
3. In PowerShell, run Get-ItemProperty HKLM:\SOFTWARE\Microsoft\InetStp | Select VersionString to display the version.
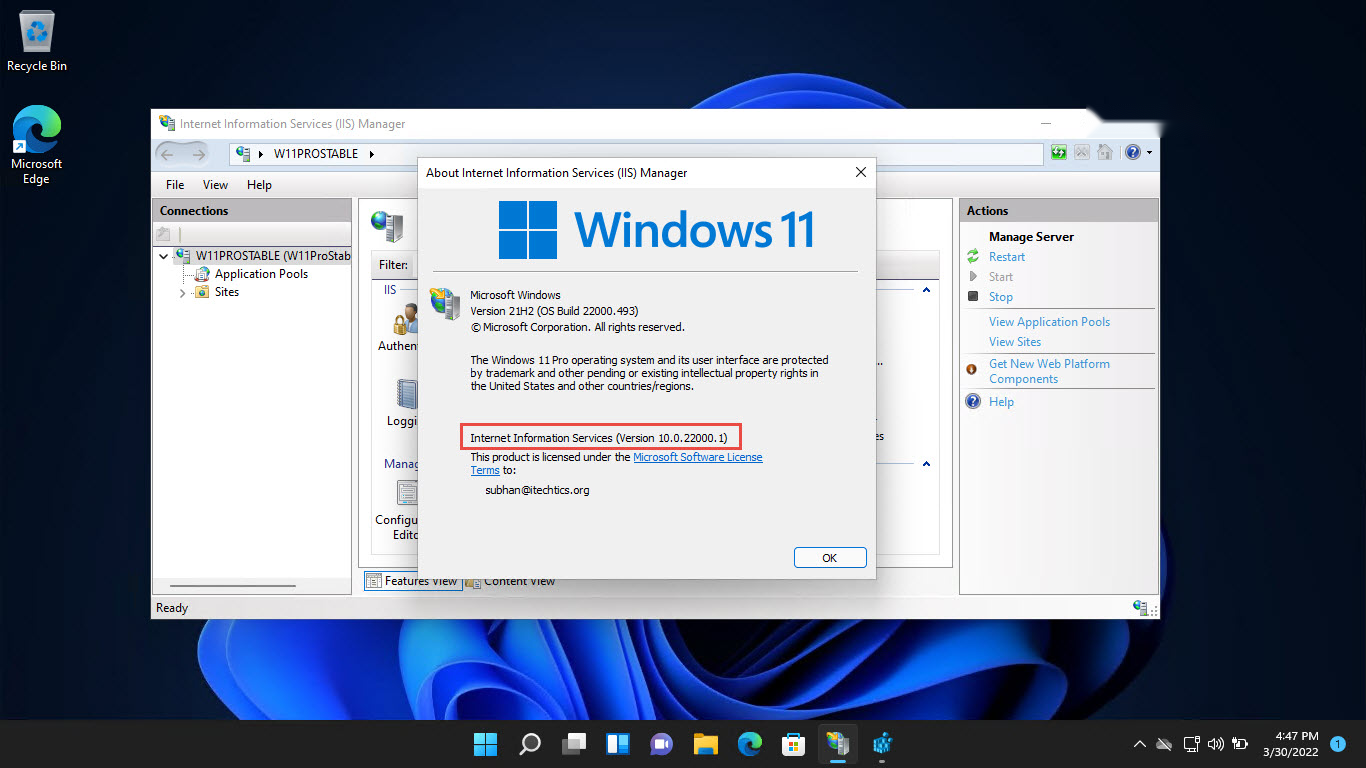
Checking the IIS version.
Tip: IIS version numbers track the Windows release — for example, IIS 10 ships with Windows 10, Windows 11, and Windows Server 2016 and later.
Troubleshooting
Problem: http://localhost does not show the IIS page.
Solution: Confirm the World Wide Web Services component was selected during installation and that the World Wide Web Publishing Service is running in services.msc.
Problem: IIS features are greyed out or will not install.
Solution: Ensure you are signed in as an administrator and that pending Windows updates are installed, then try enabling the features again.
Problem: A port conflict prevents the site from starting.
Solution: Another program may be using port 80. Stop that program or change the site binding in IIS Manager to a free port.
Problem: IIS Manager is missing after installing IIS.
Solution: Reopen Windows Features and make sure Web Management Tools > IIS Management Console is ticked.
Conclusion
Installing IIS on Windows takes only a few clicks through optional features, giving you a capable web server for development or hosting. Once enabled, verify it at http://localhost, manage your sites through IIS Manager, and add optional components as your projects require.
About TechHub
This guide is part of the TechHub Knowledge Base. For more step-by-step IT guides and support, visit techhub.com.lk.