Overview
Windows applications ගොඩක්ට system settings වෙනස් කරන්න, protected folders වලට write කරන්න, නැත්නම් components install කරන්න elevated (administrator) permissions ඕන වෙනවා. එක program එකක් "as administrator" run කරද්දී ඒකට current session එකට ඒ rights ලැබෙනවා, ඒ නිසා standard user context එකකින් block වෙන tasks පවා complete කරන්න පුළුවන්. මේ guide එකෙන් dependable methods හයක් පෙන්නනවා — ඉක්මන් one-time launches වල ඉඳන් program එකක් හැමවෙලේම elevated විදිහට start වෙන්න configure කරන එක දක්වා.
Windows එකේ administrator privileges එක්ක application එකක් launch කරන එක.
Key Takeaways
- Elevated privileges තිබුණම app එකකට system files, registry එක, සහ protected settings වෙනස් කරන්න පුළුවන්.
- ඉක්මන් one-time launch එකකට right-click "Run as administrator" option එක use කරන්න.
- ඒක permanent කරන්න Properties එකේ "Run this program as an administrator" checkbox එක set කරන්න.
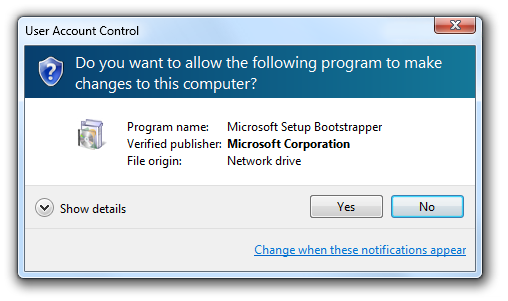
- App එකක් elevation ඉල්ලද්දී User Account Control (UAC) හැම වතාවකම confirmation එකකට prompt කරයි.
- ඔයා විශ්වාස කරන programs විතරක් elevate කරන්න — administrator rights වලින් වැදගත් safety limits අයින් වෙනවා.
Method 1: Right-Click and Run as Administrator
මේක තමයි permanent settings මොනවත් වෙනස් නොකර single launch එකක් elevate කරන්න ඉක්මනම ක්රමය.
1. Program එක Start menu එකේ, desktop එකේ, නැත්නම් File Explorer එකේ හොයාගන්න.
2. Program icon එක right-click කරන්න.
3. Context menu එකෙන් "Run as administrator" තෝරන්න.
4. "Yes" click කරලා User Account Control prompt එක confirm කරන්න.
Tip: Start menu එකෙන් app එකක් arrow keys වලින් highlight කරලා Ctrl + Shift + Enter press කරලත් elevated විදිහට launch කරන්න පුළුවන්.
Method 2: Always Run a Program as Administrator
Program එකකට හැමවෙලේම elevation ඕන නම්, ඒක එක පාරක් configure කරලා හැම වතාවකම administrator rights එක්ක launch වෙන්න හදන්න.
1. Program shortcut එක නැත්නම් ඒකේ .exe file එක right-click කරලා, ඕන නම් "Open file location" තෝරන්න.
2. Program එක right-click කරලා "Properties" තෝරන්න.
3. "Compatibility" tab එක open කරන්න.
4. "Run this program as an administrator" කියන box එක tick කරන්න.
5. "Apply" click කරලා ඊට පස්සේ "OK" click කරන්න.
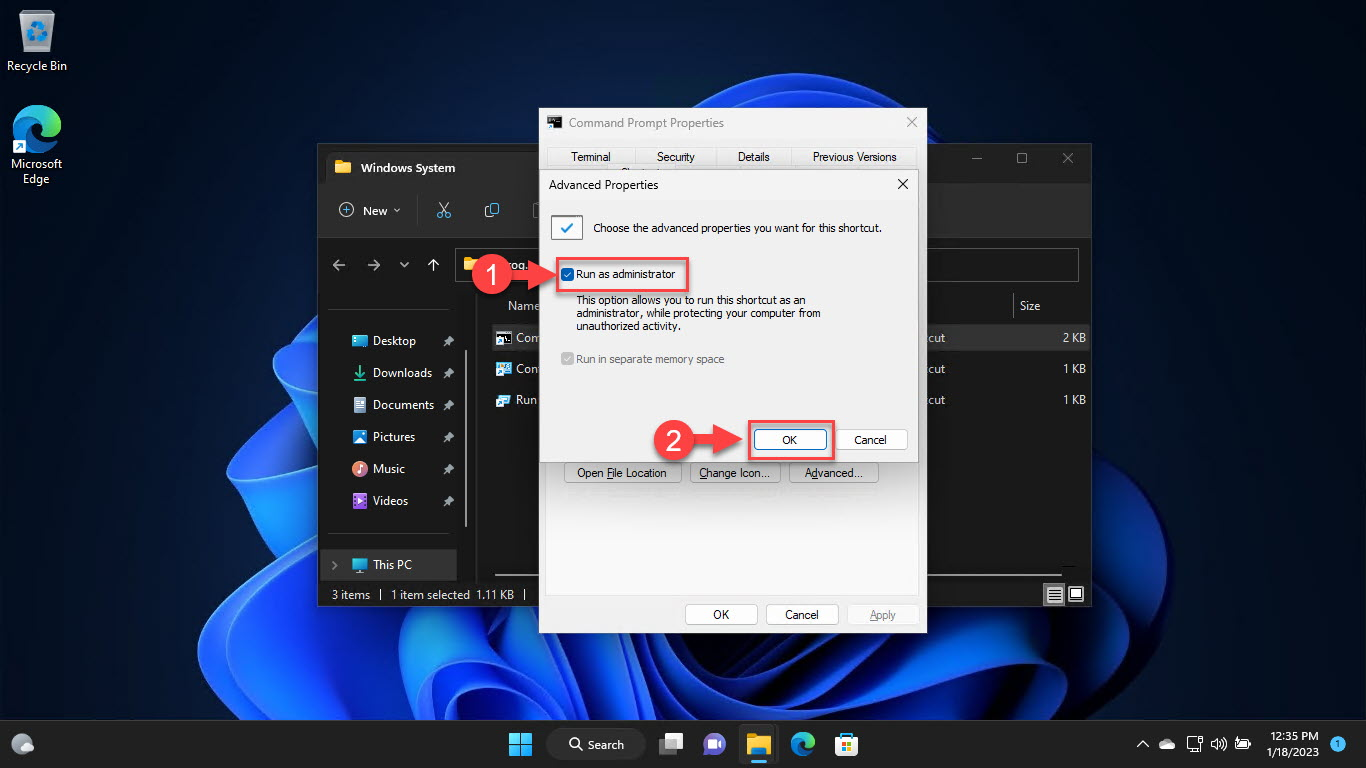
Compatibility tab එකේ "Run this program as an administrator" enable කරන එක.
Note: මේ setting එක යෙදෙන්නේ ඒ specific executable එකට. ඔයා app එක වෙනත් shortcut එකකින් නැත්නම් copy එකකින් launch කරනවා නම්, ඒ shortcut එකටත් steps ආයෙත් කරන්න වෙයි.
Method 3: Elevate from the Search Box
Windows search box එකේ built-in elevation option එකක් තියෙනවා, ඒක system tools වලට හරිම පහසුයි.
1. Taskbar එකේ search icon එක click කරන්න නැත්නම් Windows key එක press කරන්න.
2. Program එකේ නම type කරන්න (උදාහරණයක් විදිහට "cmd" හෝ "PowerShell").
3. Results pane එකේ "Run as administrator" click කරන්න.
4. UAC prompt එක approve කරන්න.
Method 4: Run as a Different User
ඔයා standard account එකකින් sign in වෙලා ඉන්නකොට, administrator rights තියෙන වෙන account එකකින් program එකක් run කරන්න පුළුවන්.
1. Shift key එක අල්ලගෙන program icon එක right-click කරන්න.
2. Expanded context menu එකෙන් "Run as different user" තෝරන්න.
3. Administrator account එකක username සහ password එක enter කරන්න.
4. ඒ account එක යටතේ program එක launch කරන්න "OK" click කරන්න.
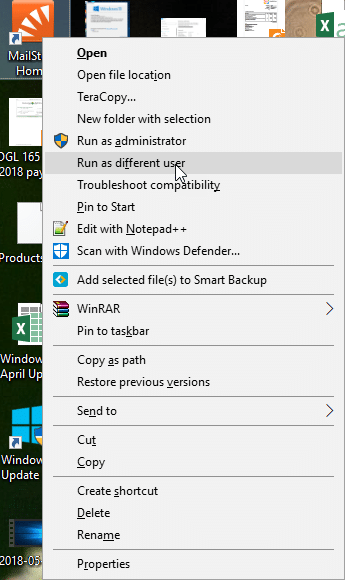
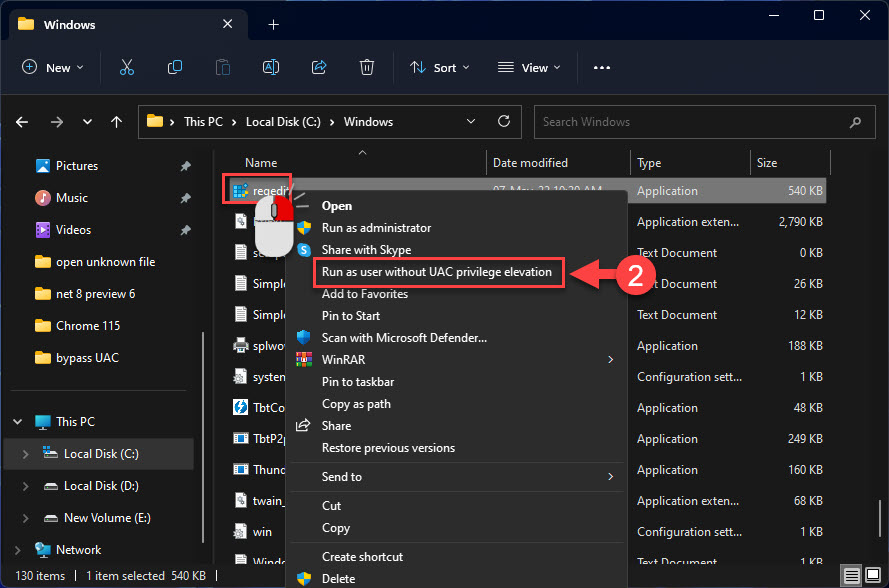
Right-click menu එකේ "Run as different user" option එක.
Method 5: Launch from Task Manager
Task Manager එකට administrative privileges එක්ක අලුත් task එකක් start කරන්න පුළුවන් — desktop එක නැත්නම් Explorer එක unresponsive වෙලා තියෙනකොට මේක ප්රයෝජනවත්.
1. Task Manager open කරන්න Ctrl + Shift + Esc press කරන්න.
2. "Run new task" click කරන්න (නැත්නම් File > Run new task).
3. Program එකේ නම type කරන්න නැත්නම් ඒකේ executable එකට browse කරන්න.
4. "Create this task with administrative privileges" tick කරන්න.
5. "OK" click කරන්න.
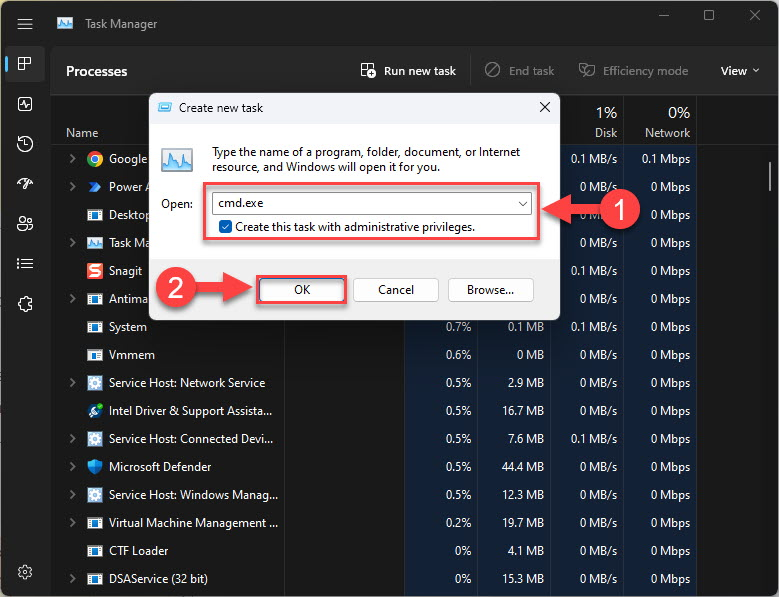
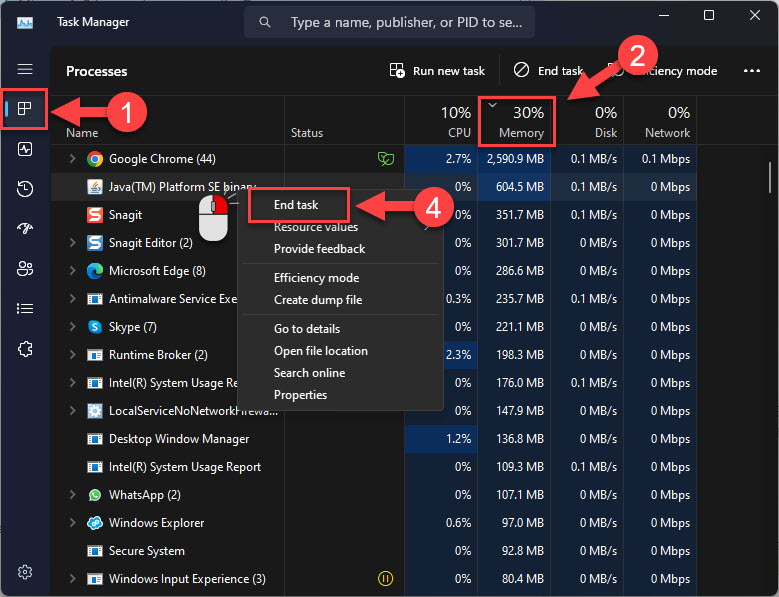
Task Manager එකෙන් elevated task එකක් create කරන එක.
Method 6: Adjust User Account Control Behaviour
Windows එක elevation එකට කීයට prompt කරනවද කියන එක UAC එකෙන් control වෙනවා. ඒකේ level එක Control Panel එකේ review කරන්න පුළුවන්, ඒත් protection එක enabled කරගෙන තියාගන්න.
1. Start menu එක open කරලා "UAC" search කරන්න.
2. "Change User Account Control settings" තෝරන්න.
3. Slider position එක review කරන්න — default එක වන "Notify me only when apps try to make changes" එක recommend කරනවා.
4. Save කරන්න "OK" click කරන්න.
Warning: UAC slider එක "Never notify" එකට drag කරන්න එපා. UAC disable කරාම වැදගත් security barrier එකක් අයින් වෙනවා, එතකොට programs — malware ඇතුළුව — නිශ්ශබ්දව administrator rights ගන්න පුළුවන් වෙනවා.
Troubleshooting
Problem: Right-click menu එකේ "Run as administrator" option එක නෑ.
Solution: Store-app tile එකක් වෙනුවට ඇත්ත .exe file එකම right-click කරන්න. Microsoft Store එකේ UWP apps මේ විදිහට elevate කරන්න බෑ; ඒ වෙනුවට program එකේ desktop version එක use කරන්න.
Problem: UAC prompt එක කවදාවත් එන්නේ නෑ, elevation එක නිශ්ශබ්දව fail වෙනවා.
Solution: "Change User Account Control settings" එකේ UAC enabled කියලා confirm කරන්න. ඒක "Never notify" එකට set කරලා නම්, default level එකට raise කරලා PC එක restart කරන්න.
Problem: ඔයා ළඟ නැති administrator password එකක් ඉල්ලනවා.
Solution: ඔයාගේ account එක standard user එකක්. Administrator කෙනෙක්ට sign in වෙන්න කියන්න, නැත්නම් ඔයාගේ account එක Settings > Accounts එකේ Administrators group එකට add කරන්න කියන්න.
Problem: Administrator විදිහට run කරාට පස්සෙත් program එකක් තාම "access denied" කියනවා.
Solution: ඒක write කරන file එක නැත්නම් folder එක antivirus එකකින් block වෙලා නැද්ද, NTFS permissions නැතුව නැද්ද කියලා check කරන්න. Executable එක read-only විදිහට mark වෙලා නැති බවත්, drive එක write-protected නැති බවත් verify කරන්න.
Conclusion
Program එකකට administrator privileges දෙන්න Windows එකේ ක්රම කිහිපයක් තියෙනවා — ඉක්මන් right-click launch එකක ඉඳන් permanent Compatibility-tab setting එකක් දක්වා. App එකට කීයට elevation ඕනද කියන එකට ගැළපෙන method එක තෝරන්න, එතකොට හැම elevation එකක්ම කල්පනාකාරී, confirm කරපු action එකක් වෙන්න User Account Control එක හැමවෙලේම active කරගෙන තියාගන්න.
About TechHub
මේ guide එක TechHub Knowledge Base එකේ කොටසක්. තව step-by-step IT guides සහ support වලට techhub.com.lk එකට යන්න.