Overview
The Snipping Tool is Windows 11’s built-in utility for capturing and annotating screenshots. This guide covers installing it, the available capture modes, and how to edit, save, and uninstall it.
The Snipping Tool in Windows 11.
Key Takeaways
- The Snipping Tool ships with Windows 11 and 10.
- Reinstall it free from the Microsoft Store if needed.
- It supports rectangular, free-form, window, and full-screen captures.
- You can annotate, crop, and save clips, or copy them to the clipboard.
Install / Reinstall from the Microsoft Store
1. Open the Microsoft Store from the Start menu.
2. Search for "Snipping Tool".
3. Click Get / Install to download and install it.
4. Launch it from the Start menu once installed.
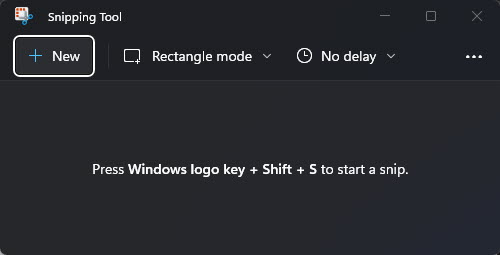
Snipping Tool installed and ready to run.
Note: Download the Snipping Tool only from the official Microsoft Store to avoid fake or bundled installers.
How to Capture a Screenshot
1. Press Windows + Shift + S, or open the Snipping Tool and click New.
2. Choose a mode: Rectangular, Free-form, Window, or Full-screen.
3. Drag to select the area; the capture is copied to the clipboard.
4. Click the notification to open it in the editor for annotation.
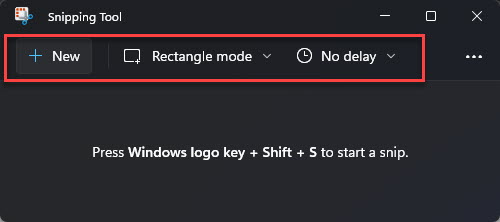
Choose a capture mode and an optional delay.
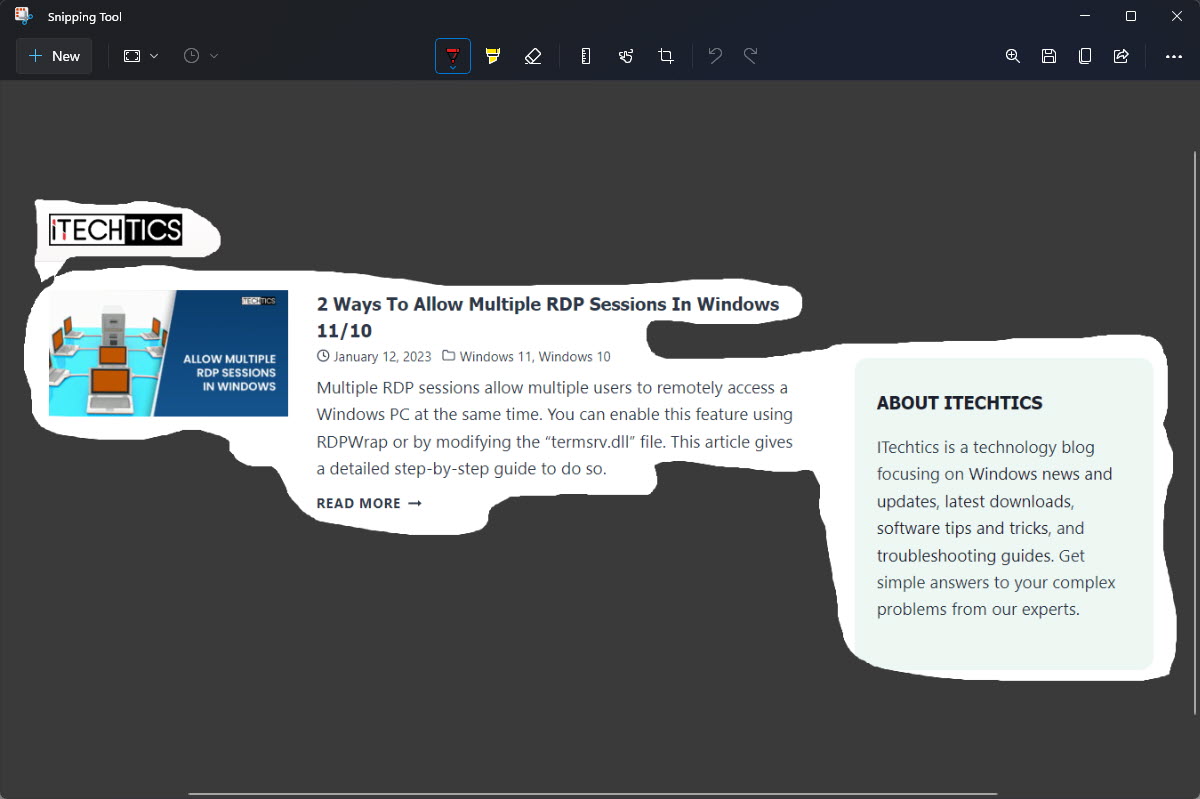
Free-form capture mode.
Edit and Save
1. In the editor, use the pen, highlighter, and crop tools to annotate.
2. Click the Save icon (or Ctrl + S) to save as PNG, JPG, or GIF.
3. Click Copy (or Ctrl + C) to place the image on the clipboard for pasting.
How to Uninstall
1. Open Settings > Apps > Installed apps.
2. Find Snipping Tool, click the three dots, and choose Uninstall.
3. You can reinstall it any time from the Microsoft Store.
Troubleshooting
Problem: Windows + Shift + S does nothing.
Solution: Enable Settings > Accessibility > Keyboard, or turn on clipboard history; reinstall the Snipping Tool from the Store if it’s missing.
Problem: Screenshots aren’t saved automatically.
Solution: Captures go to the clipboard by default — open the editor and use Save, or enable auto-save in Snipping Tool settings.
Problem: The tool won’t open.
Solution: Update Windows and the app via the Store, or reset it under Settings > Apps > Snipping Tool > Advanced options > Reset.
Problem: Delay capture isn’t working.
Solution: Set the delay in the toolbar before clicking New; the timer starts after you choose the mode.
Conclusion
The Snipping Tool is a fast, free way to capture and annotate your screen in Windows 11. Install it from the Microsoft Store, learn the shortcut Windows + Shift + S, and you’ll have a capable screenshot workflow built right into Windows.
</w:pBdr><w:spacing w:before="220" w:after="40"/></w:pPr><w:r><w:rPr><w:b/><w:bCs/><w:color w:val="0B5394"/><w:sz w:val="21"/><w:szCs w:val="21"/><w:rFonts w:ascii="Calibri" w:cs="Calibri" w:eastAsia="Calibri" w:hAnsi="Calibri"/></w:rPr><w:t xml:space="preserve">About TechHub
This guide is part of the TechHub Knowledge Base. For more step-by-step IT guides and support, visit techhub.com.lk.